
Canva Craft Review: From AI Characters to a Movie Poster
We took an existing AI character through Dream Lab, a new scene, targeted edits, resolution boost, a complete movie poster, and Canva’s social-design workflow. Then we tested Magic Layers to see what happens after generation.
As someone who creates AI videos, articles, and visuals for multiple platforms, I am interested in more than whether a model can make a beautiful first image. I want to know what happens next: Can I keep a character recognizable, change a detail, build a graphic, add real copy, and move toward something I can actually publish? We tested the Canva Craft-1 2K model and continued into Canva AI’s editing and poster workflow. Here are the actual test screenshots, six original downloaded character images, and what we observed.
TRAIA takeaway: Craft showed promising typography and layout awareness in these samples. It also produced atmospheric character scenes with some recurring creative themes. We inspected six earlier character exports and tested reference-based creation, targeted image edits, resolution boosting, and a finished movie-poster design. I also tried Magic Layers and was impressed by how much easier it made individual-element editing, layering, and text-readability refinements.
What is Canva Craft?
Craft is Canva's first image-generation model developed by its research team. Canva says it creates images up to 2K resolution, supports over 30 aspect ratios, and generates text in 55 languages. These are claims from Canva's October 22 announcement, not all independent measurements from our test.
Canva describes a two-stage model that plans the image structure before rendering. That approach is particularly relevant to marketing graphics, where exact copy and visual hierarchy matter as much as the illustration.
Our Dream Lab testing setup
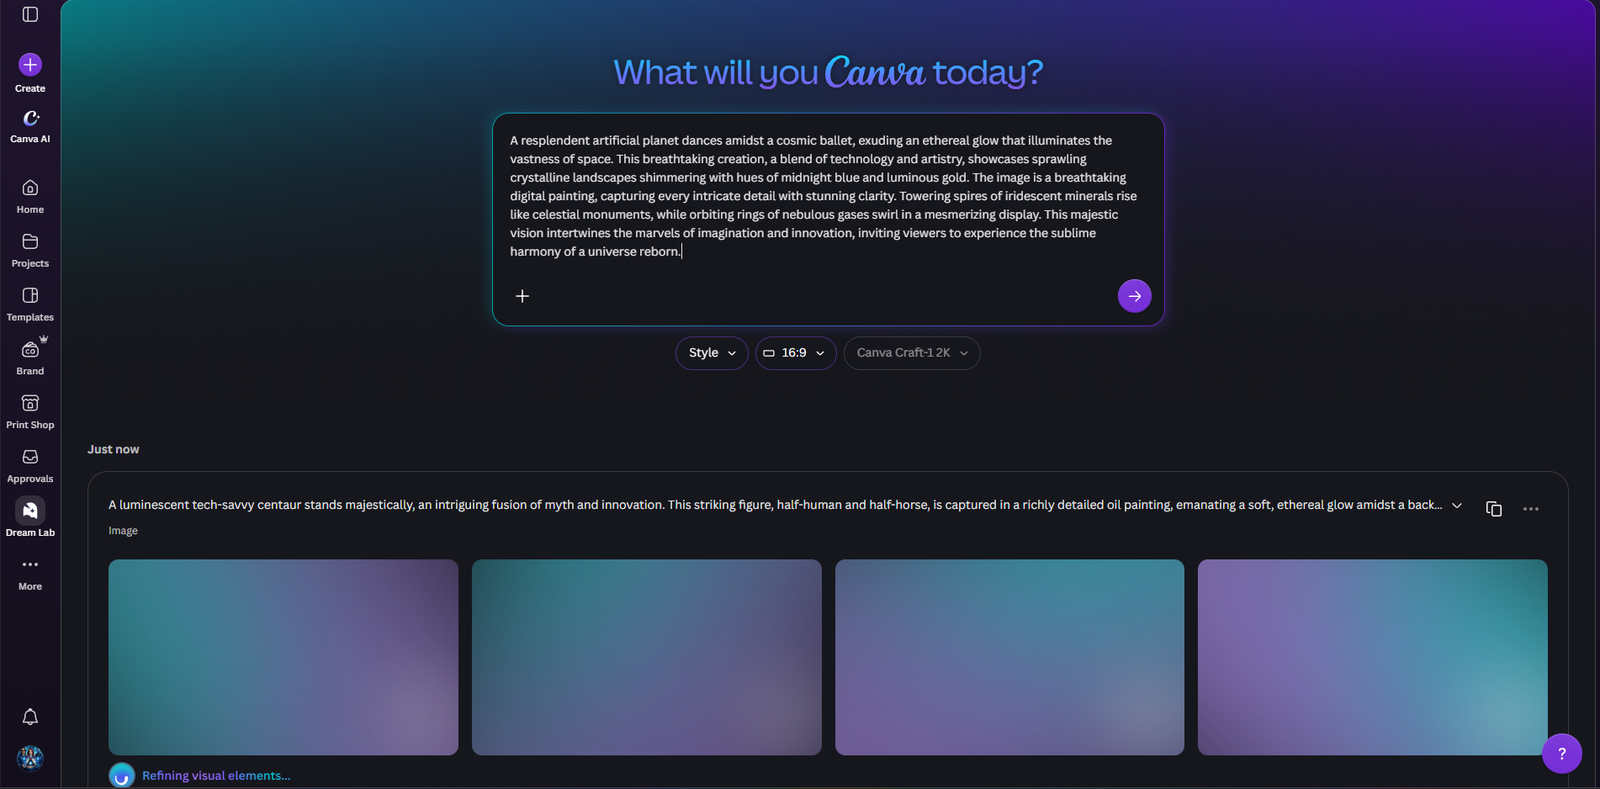
In our Canva Dream Lab account, the interface showed the prompt field, Style selector, aspect ratio, and model setting Canva Craft-1 2K. Each completed prompt displayed four generated choices. We captured the interface and the poster/workspace previews during the October 29 session, and also downloaded six character images to inspect beyond screenshot size.
Test 1: Exact typography in four posters
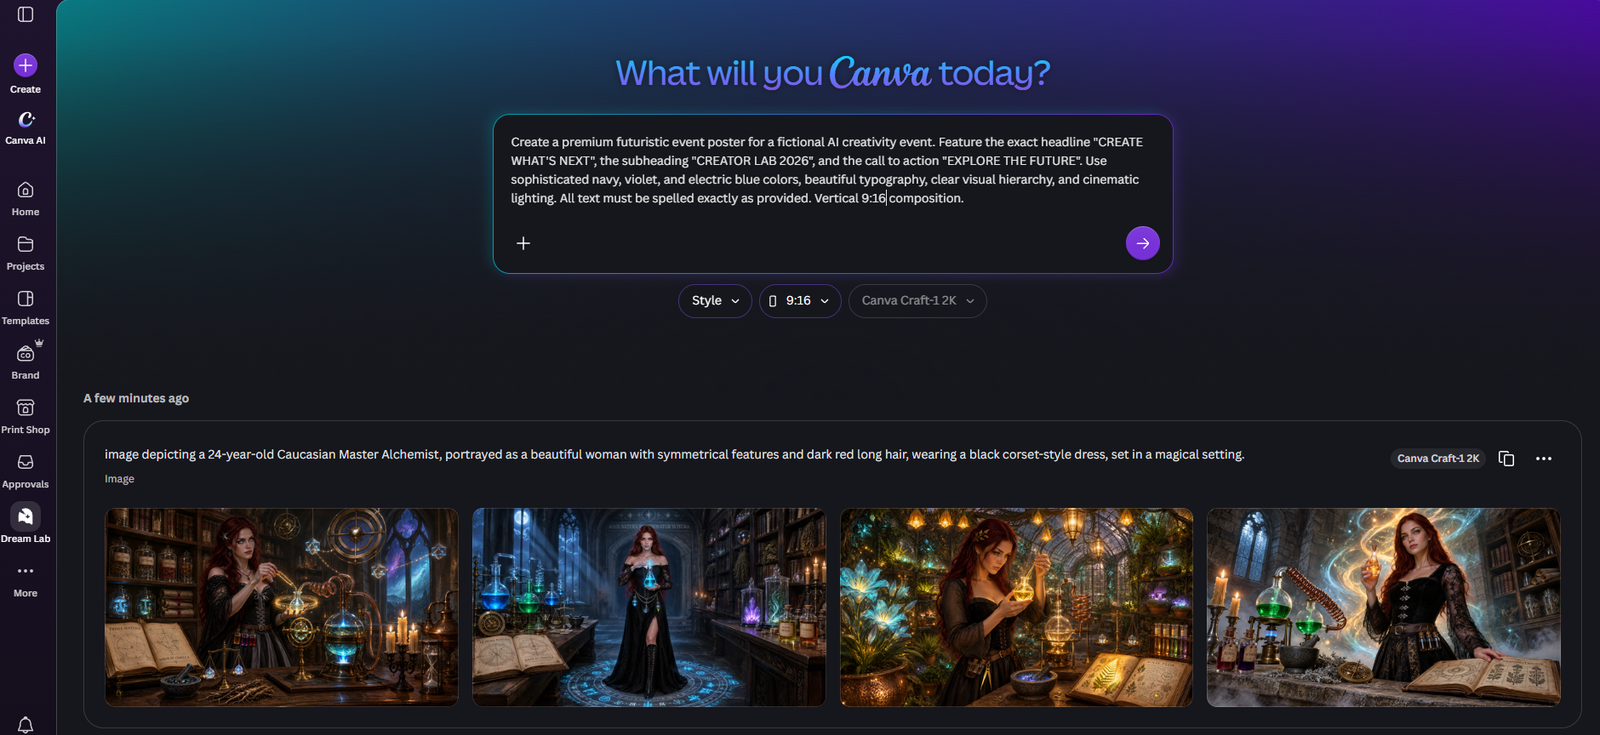
Our prompt requested a fictional AI event poster using three exact text phrases: CREATE WHAT'S NEXT, CREATOR LAB 2026, and EXPLORE THE FUTURE, in a navy, violet, and electric blue palette.
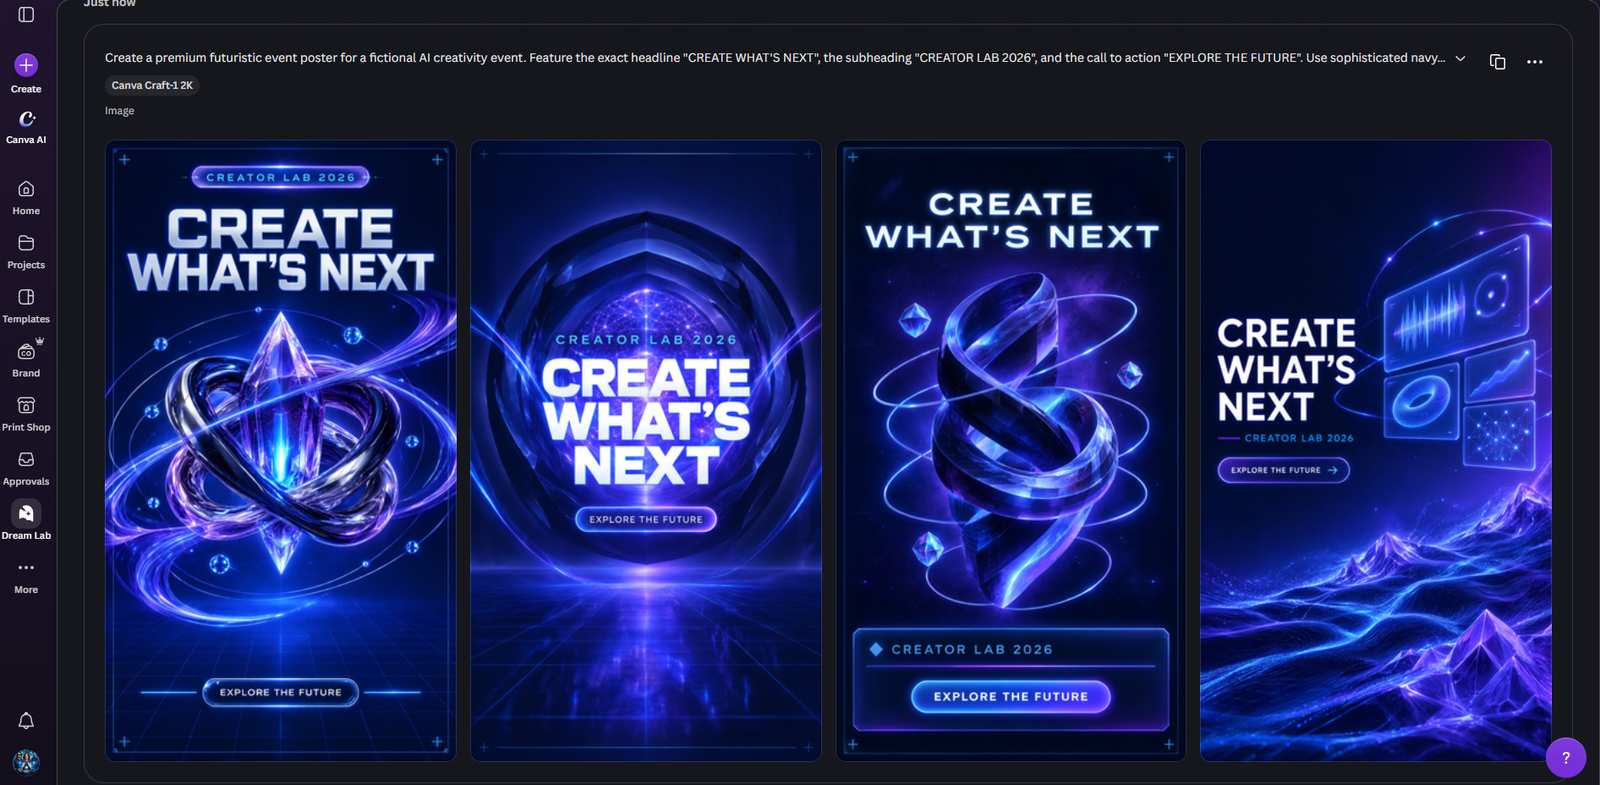
What worked: The four variations use distinct compositions and typographic hierarchy rather than repeating one design. All three requested phrases appear correctly spelled at the screenshot scale. What I didn't like: tiny lettering and final export quality need inspection at native resolution. We did not edit these designs.
View the exact poster prompt and Canva Craft settings
Test 2: Brand colors and left-side negative space
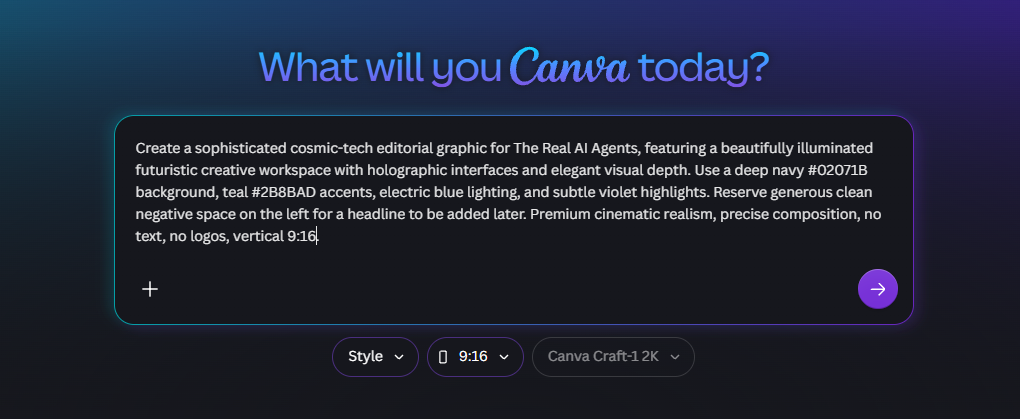
We asked for a futuristic creative workspace with deep navy #02071B, teal #2B8BAD, electric blue, violet, no logos or text, and clean room on the left for a headline. The results interpreted that compositional request consistently.
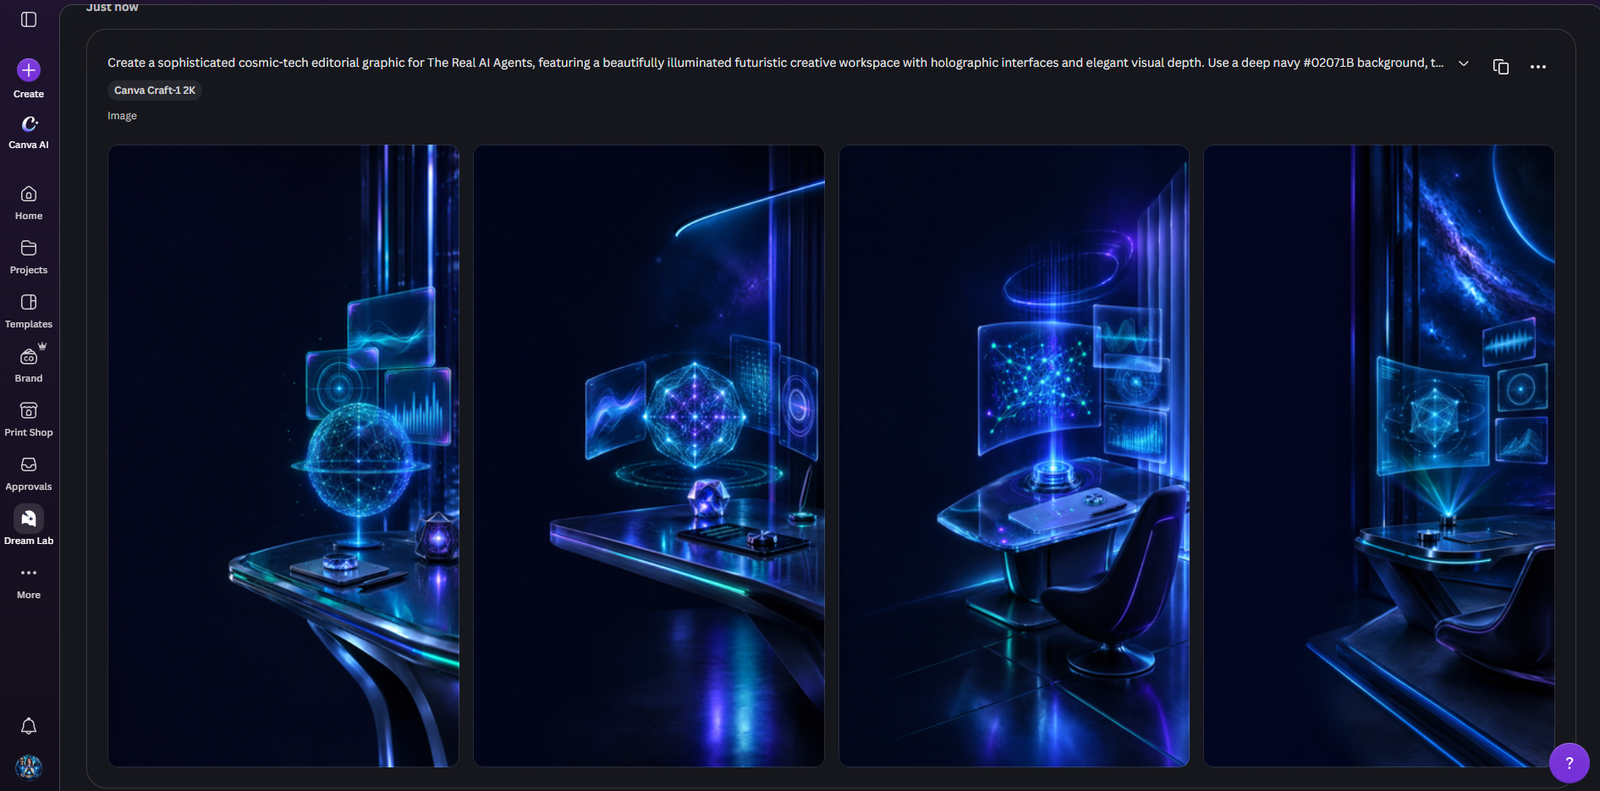
What worked: The four previews clearly favor right-side subjects and generous space on the left. What needs checking: the output looks visually close to the color family, but that is not proof of exact HEX reproduction. Teal is relatively subtle in some outputs.
View the original brand-color prompt and settings
Test 3: Character creativity with minimal direction
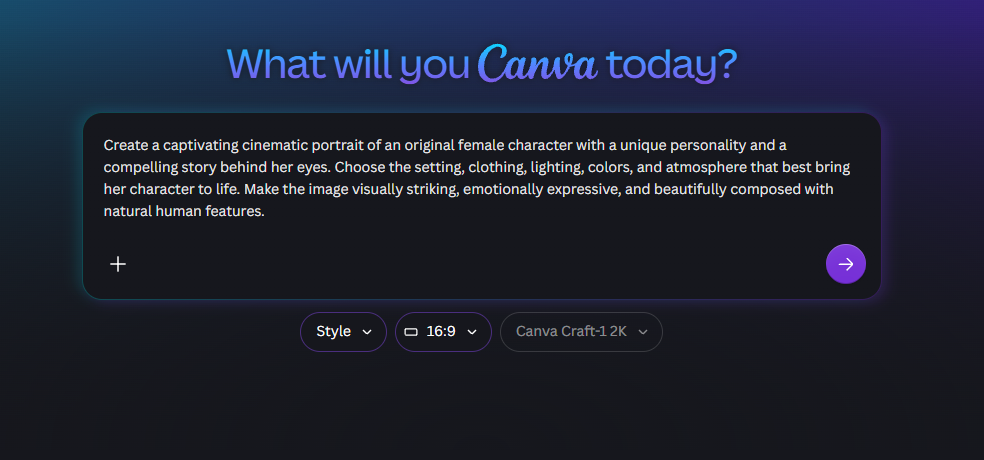
Rather than prescribing hair, clothing, or specific scenery, we asked for an original female character with a story behind her eyes and told Craft to choose the setting, lighting, atmosphere, and wardrobe. We then made separate generations in six aspect ratios and downloaded the full-size outputs.
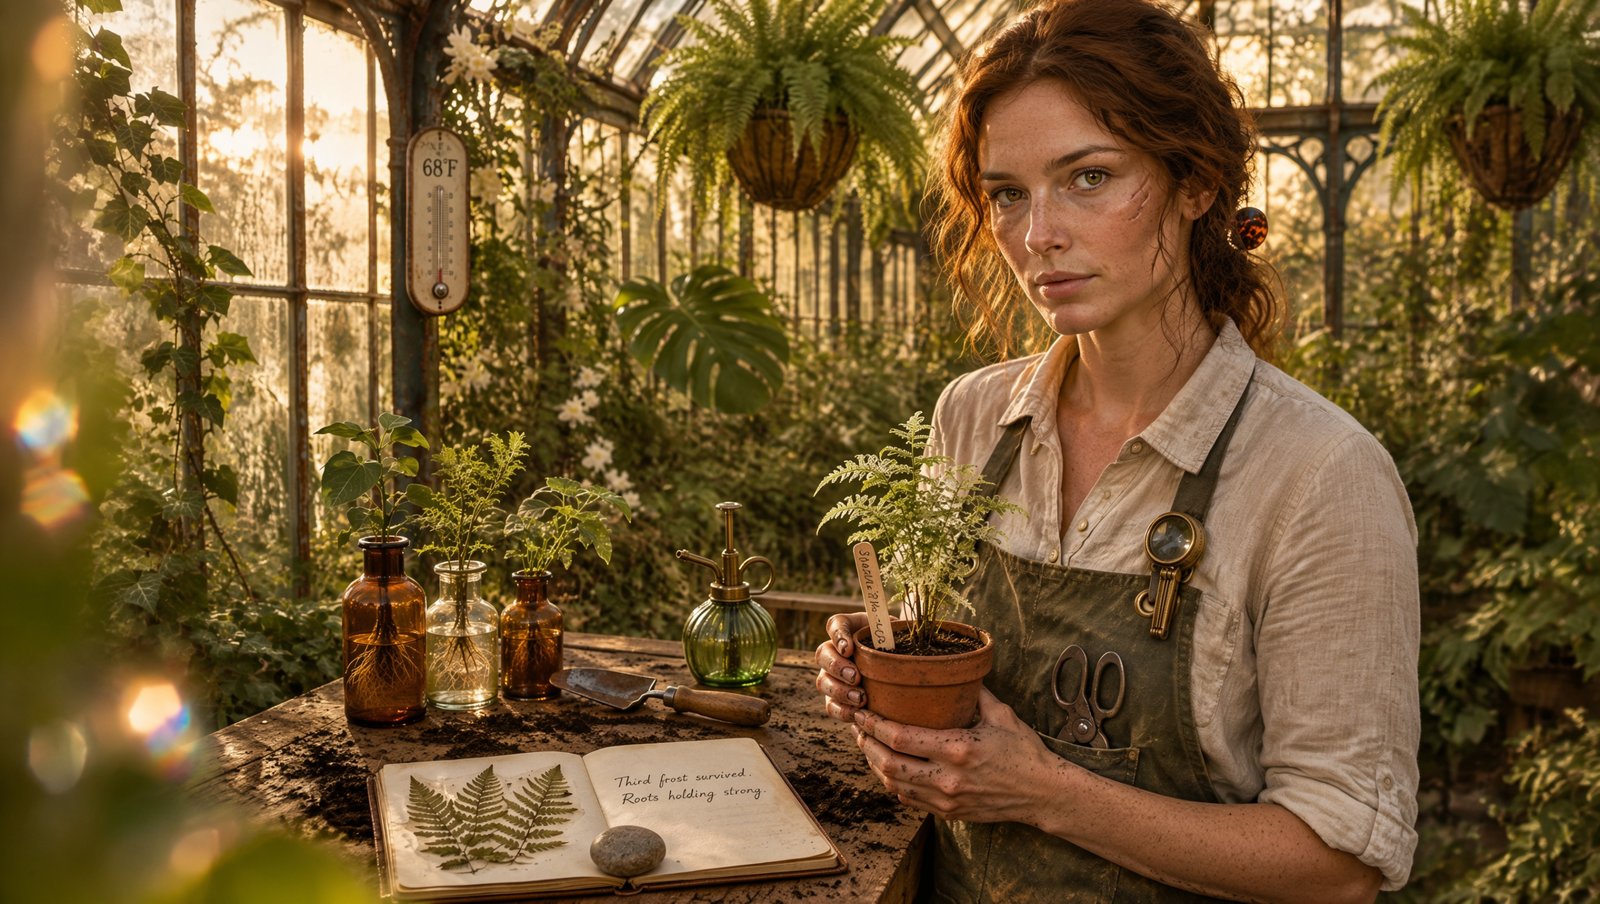
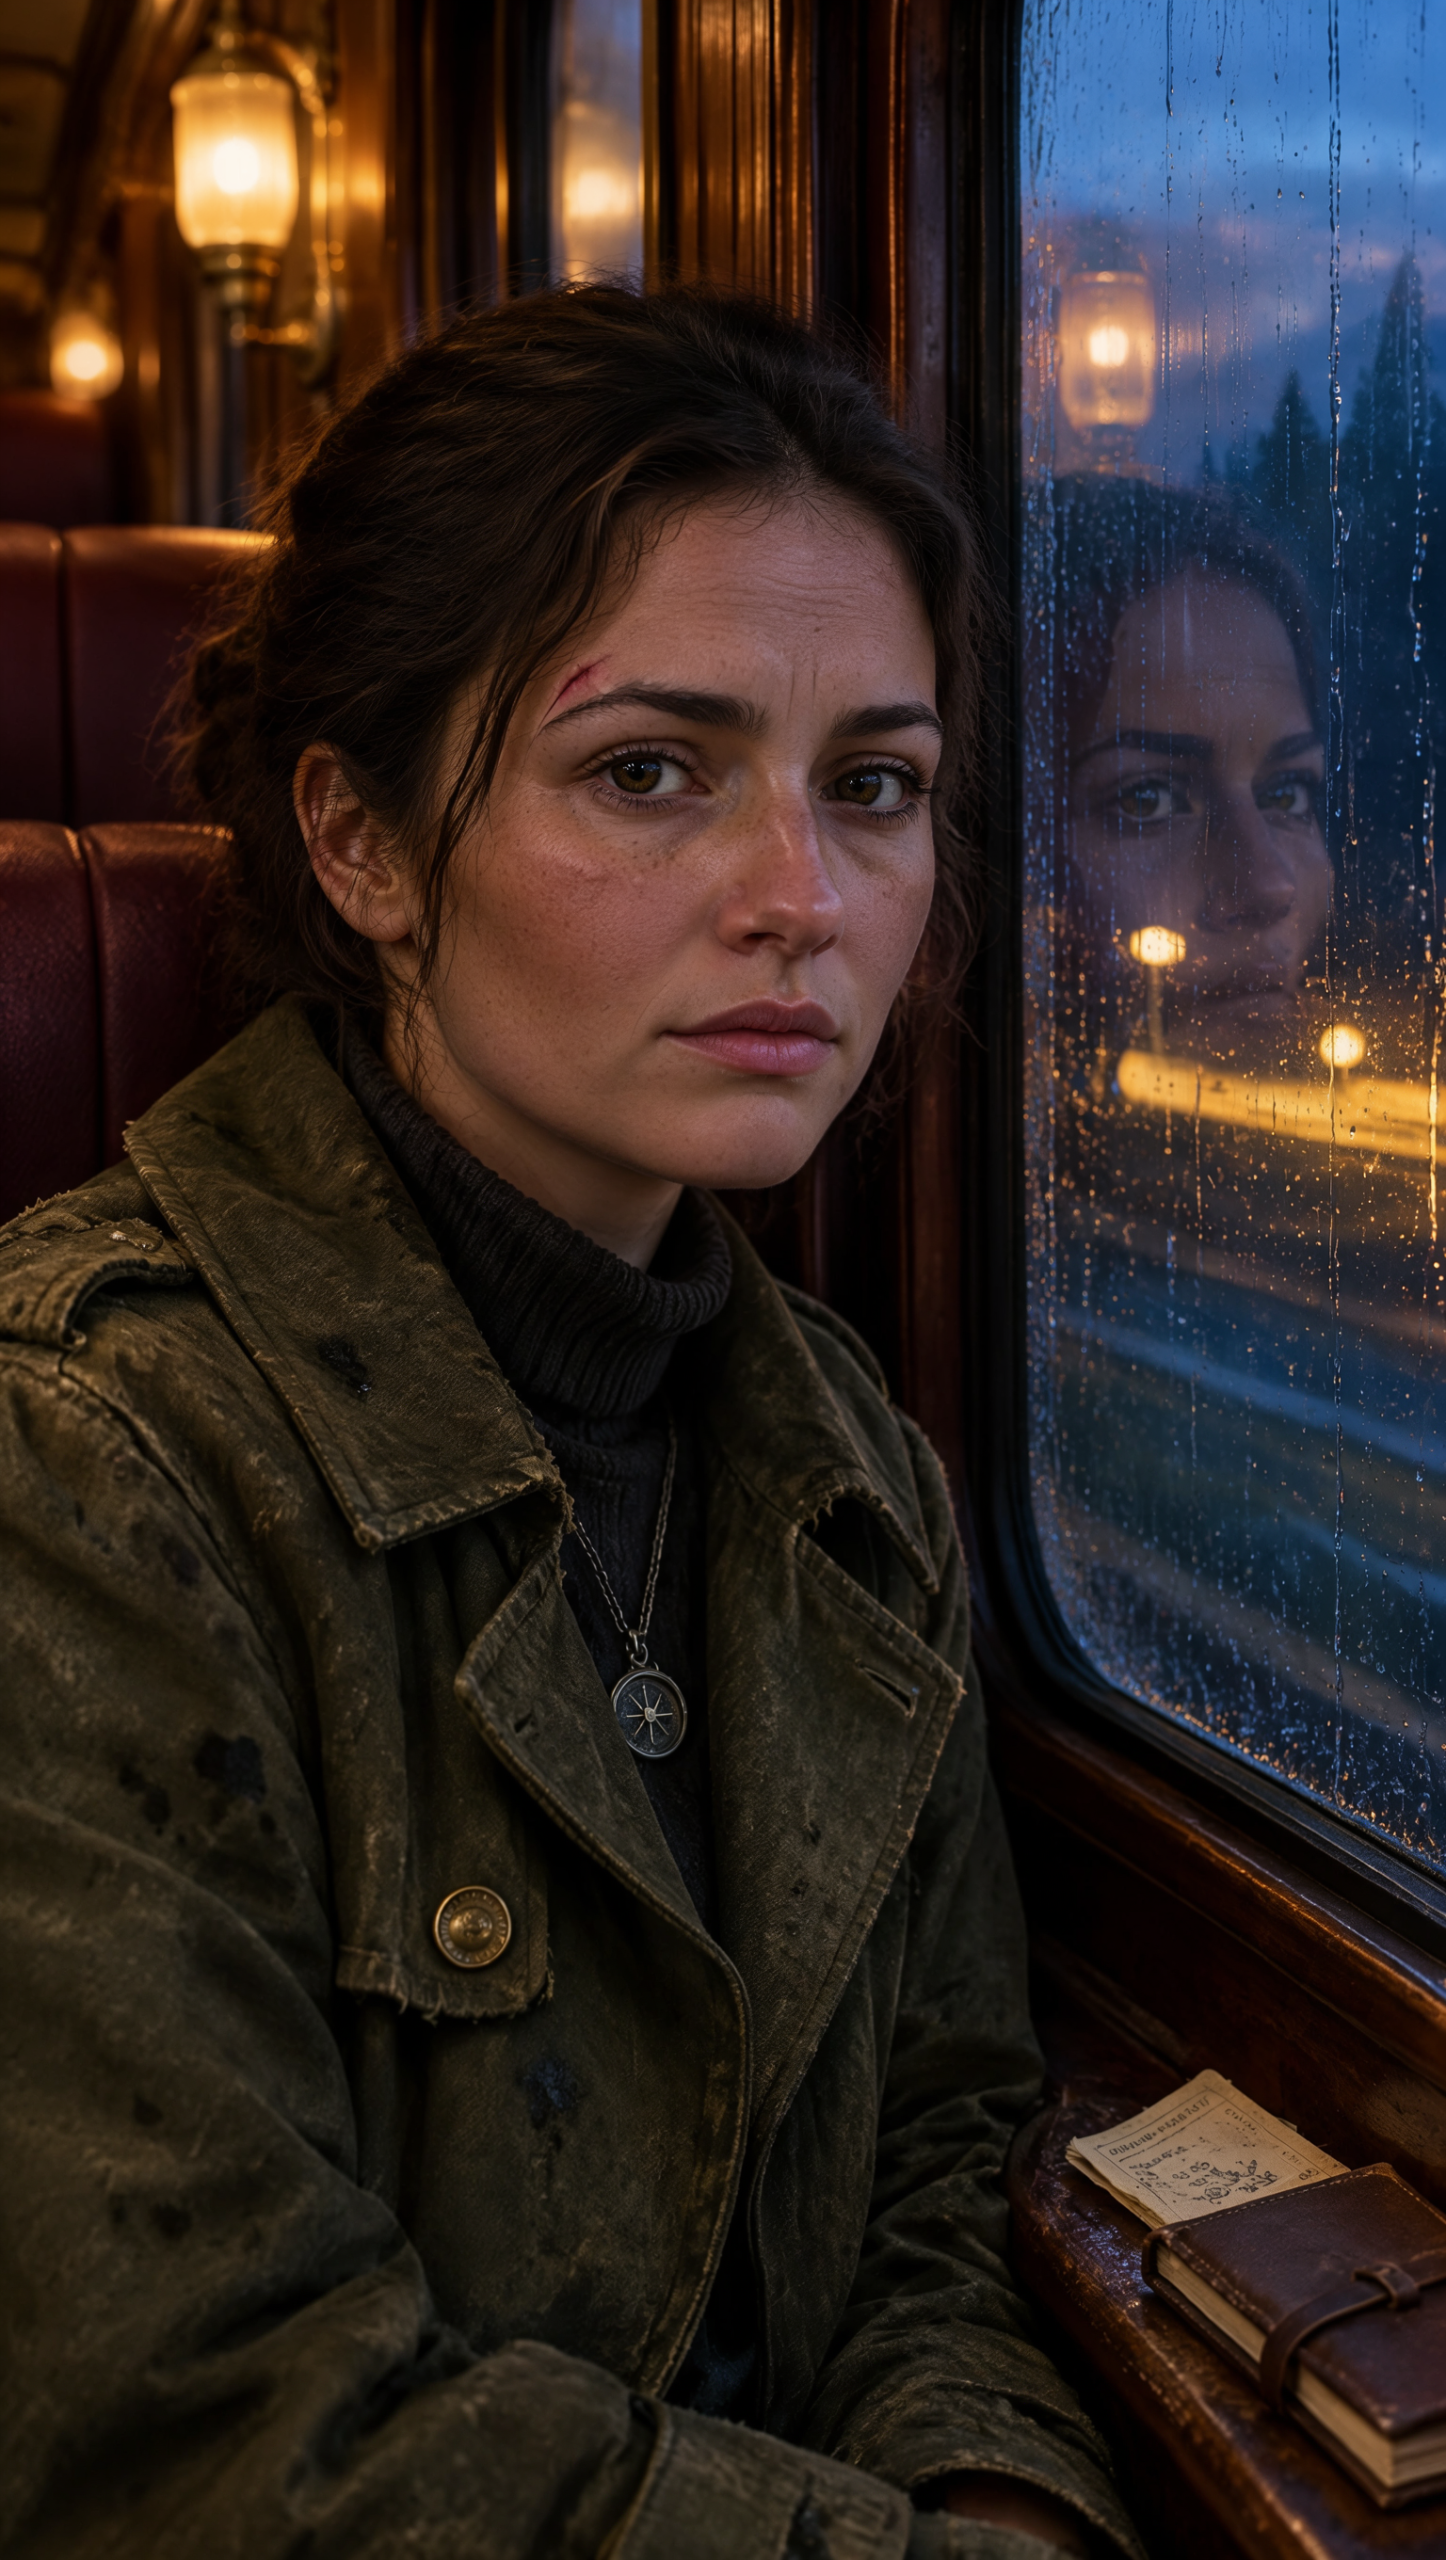
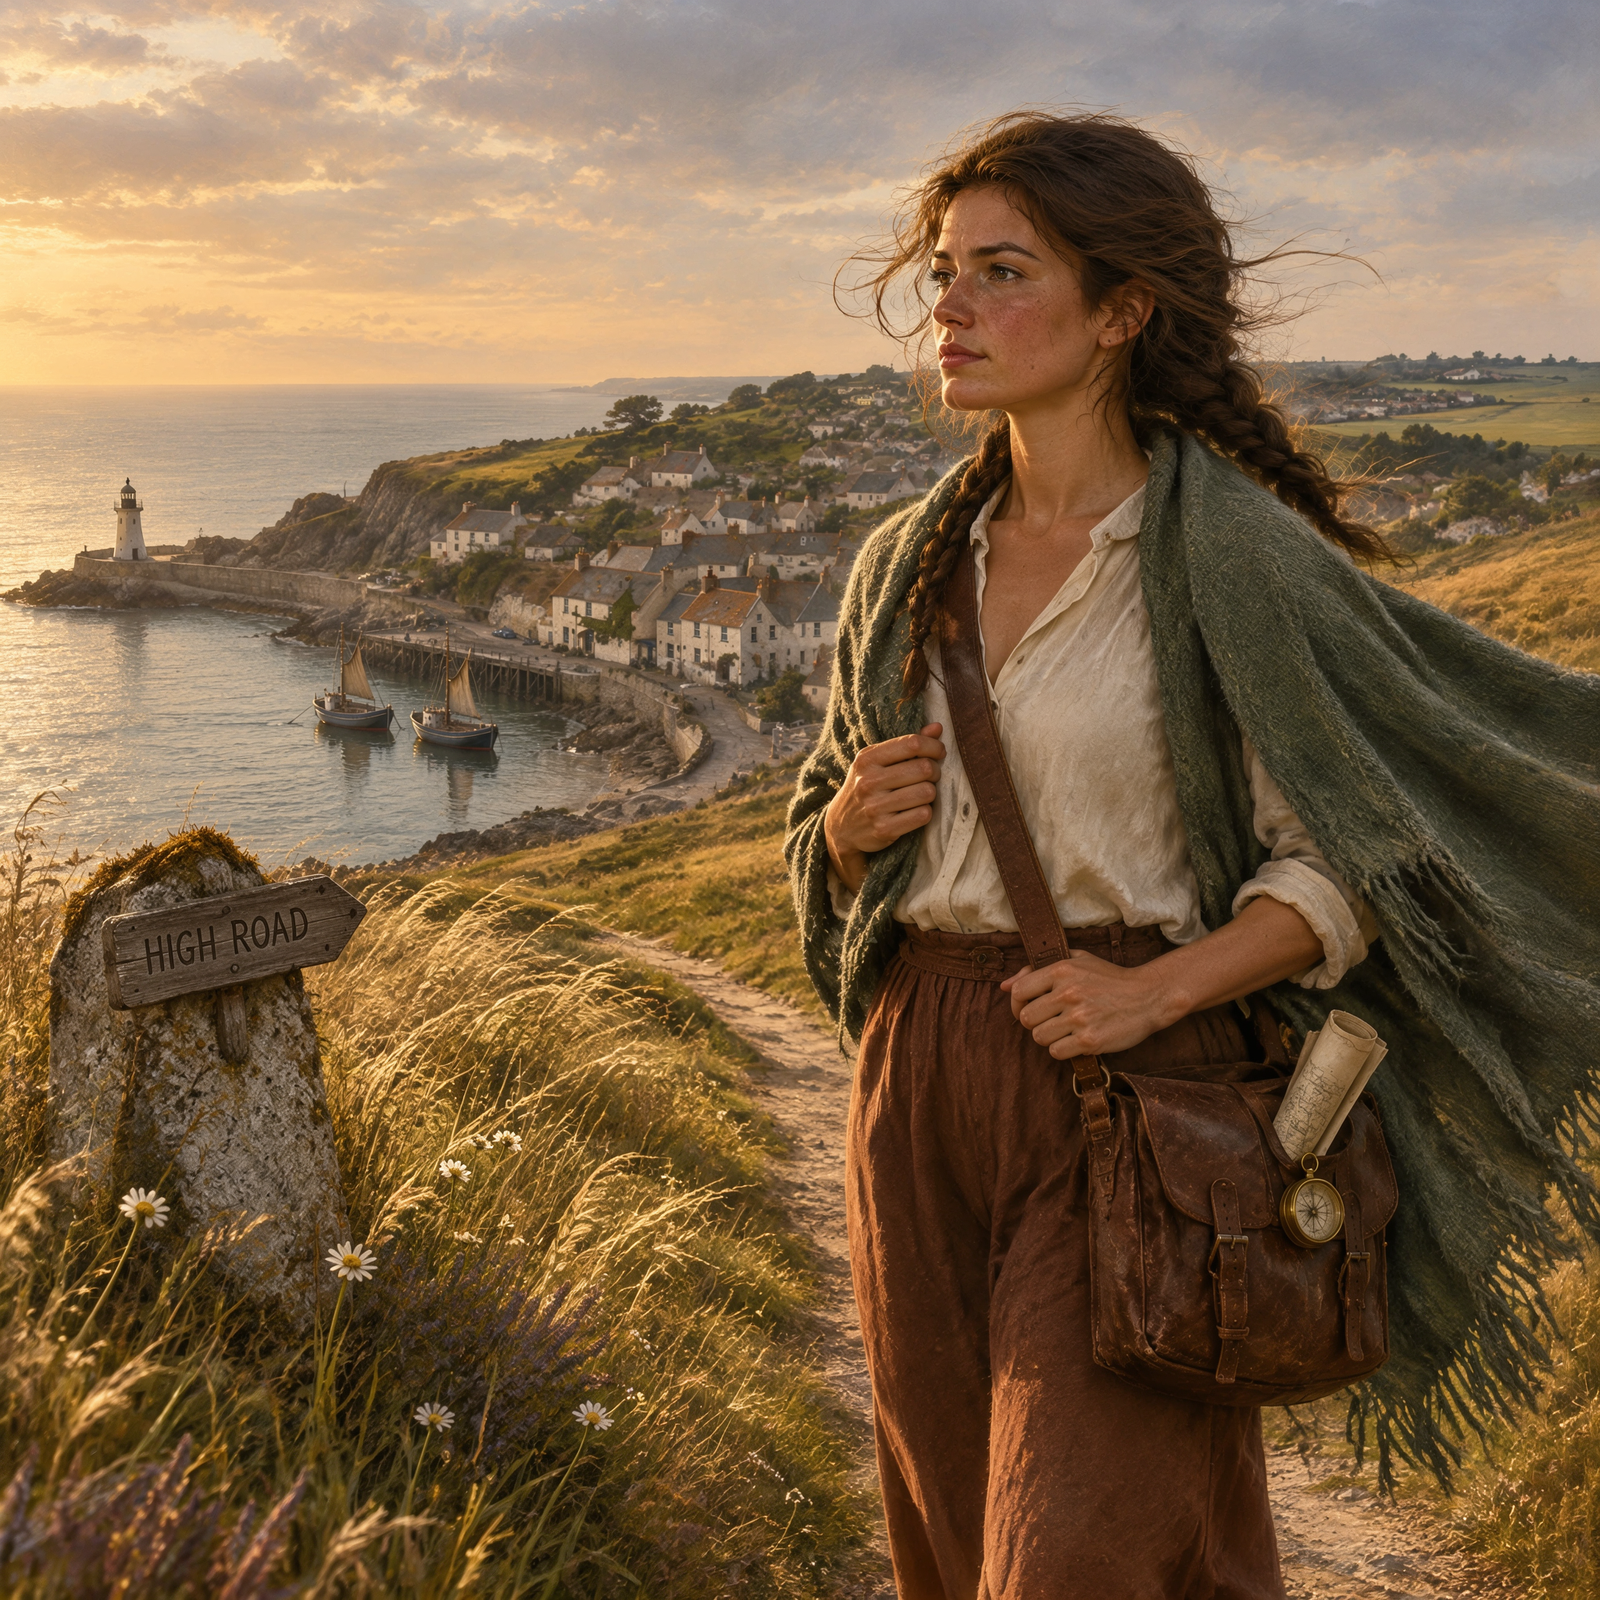
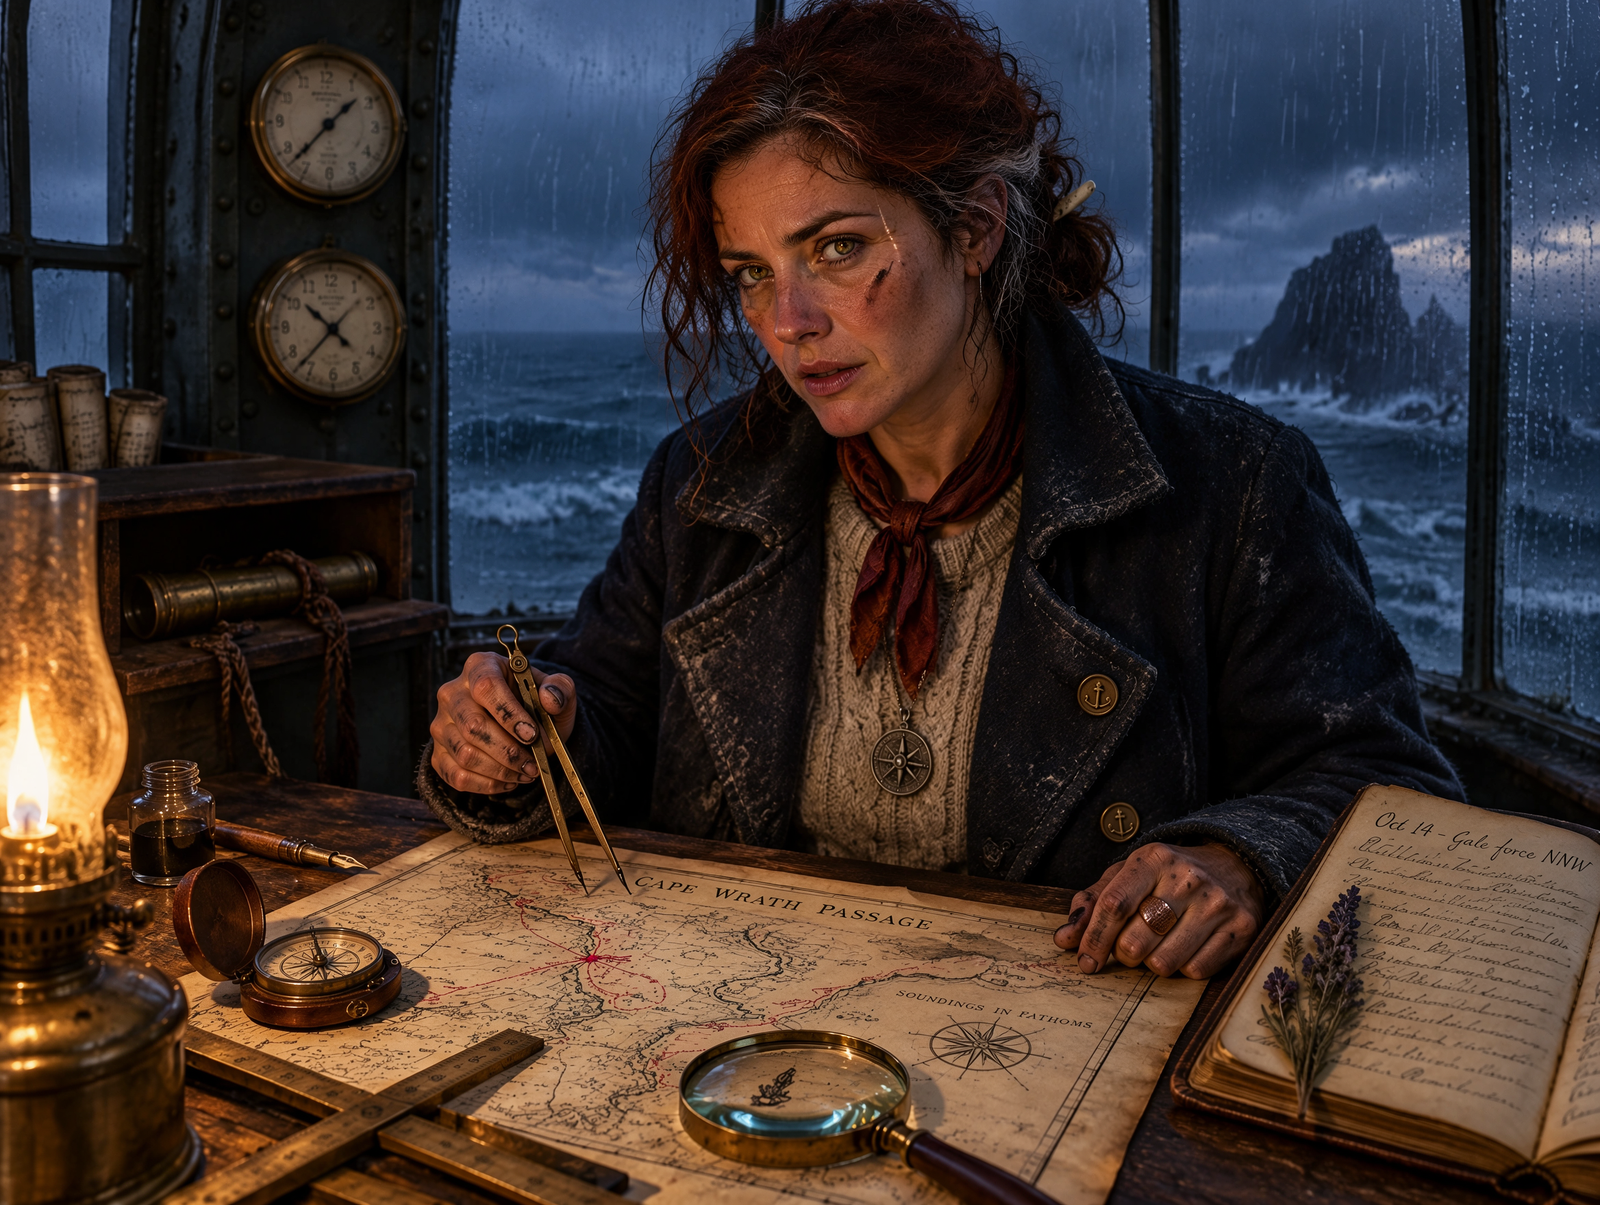
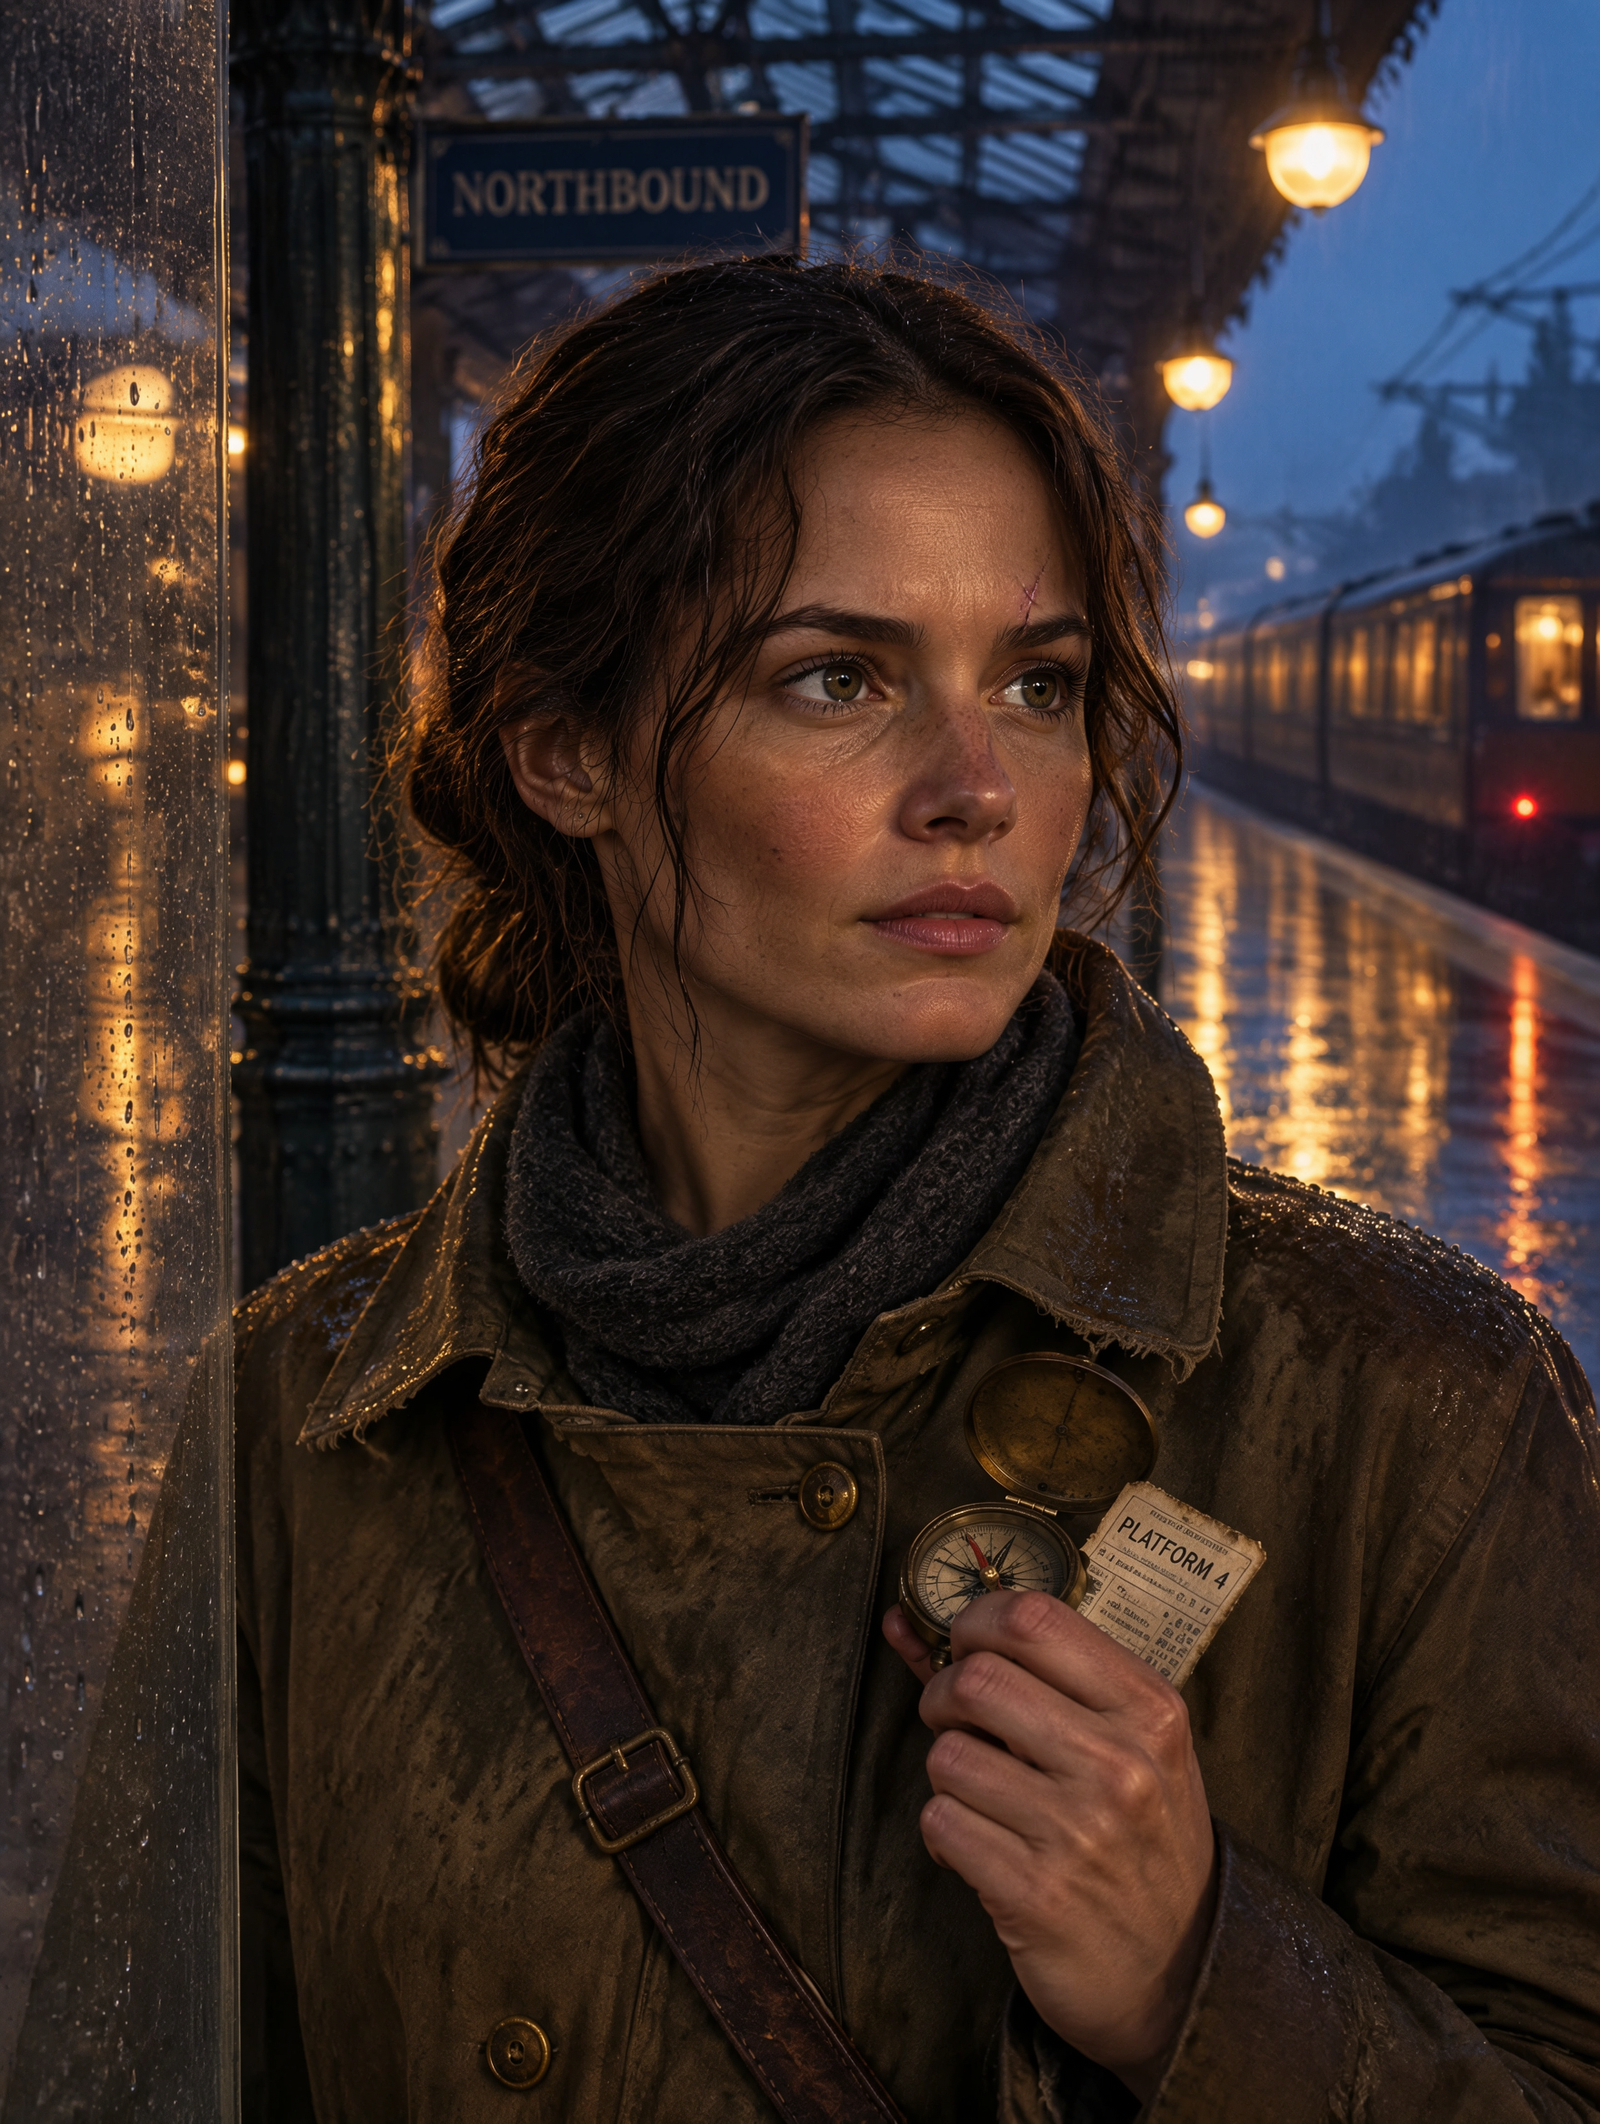
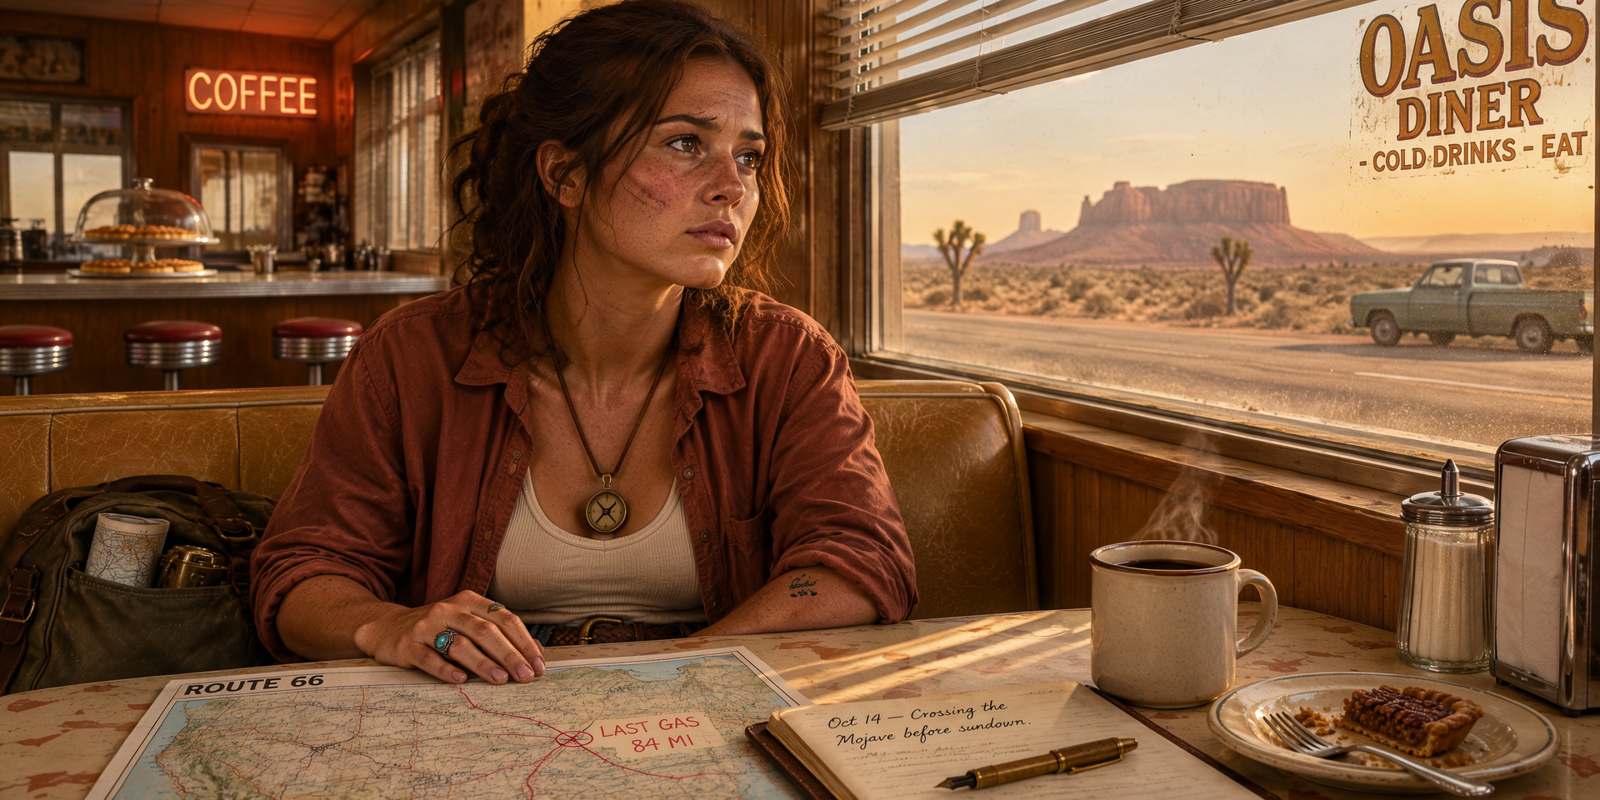
What worked: The downloaded originals show detailed environments, believable materials, and different lighting across the generations. At native dimensions, the scenes are easier to judge than in the small previews. What stood out: the model repeatedly returned to travel, exploration, muted earthy clothing, and thoughtful or guarded expressions. Attractive, but not an especially wide emotional range.
Important: These are separate generated images, not crops of one character or a controlled identity-consistency test. Format flexibility should not be confused with character consistency.
Image gallery: The six images above are the original downloaded character generations. Select any image to open the full-size version.
Test 4: From a character reference to a finished movie poster
Here's where Canva Craft became more interesting to me as a working creator. Generating a character is one thing. Turning that character into something I can actually use for a video, blog, campaign, or story project is another. I wanted to find out how far I could get without constantly exporting files and moving them between different applications.
For this experiment, I started with one of our existing TRAIA characters, gave her a new scene, made a targeted costume edit, boosted the image, and used Canva AI to build a theatrical poster. Then came the less glamorous part of creative work: fixing text, adjusting layout, and adding our logo.
Step 1. Bring in a character you've already created
You can absolutely start from scratch with the open-ended prompt in Test 3. But if you're building recurring characters for YouTube, music videos, storytelling, or your business, you may already have a character you want to keep using. I uploaded our blonde, double-bun fantasy character, dressed in her original indigo cosmic gown, as a visual reference.
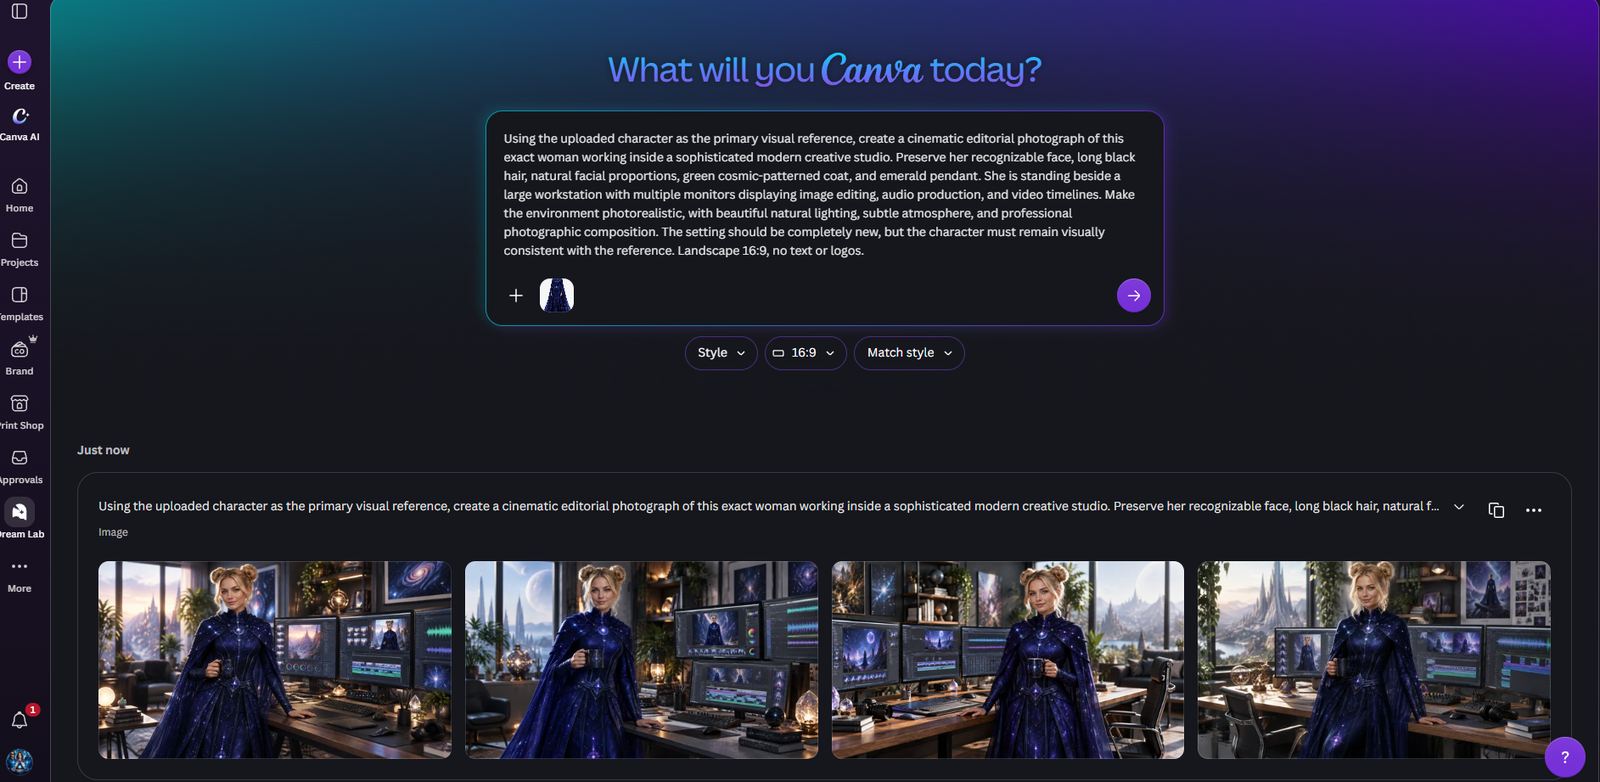
In the Dream Lab screenshot, the image is attached to the prompt and the selected reference setting reads Match style. We used a 16:9 generation. The four results placed her in different creative studios with editing monitors, rather than simply copying the white-background reference portrait.
A useful real-world lesson: My first prompt still had some wording from an earlier test describing dark hair and a green coat, even though the uploaded reference was blonde and wearing indigo. The resulting images largely followed the reference instead. That's encouraging, but not a reason to rely on conflicting instructions.
Copy the corrected reference-to-scene prompt (reader-ready)
Step 2. Pick the best scene and make one focused change
I chose the studio composition with the character standing at an editing desk, a fantasy landscape visible through the windows, and video and audio work in progress on the monitors. The blue gown was beautiful, but I wanted to see whether a tiny edit request could change the wardrobe without costing us the scene.
My entire next prompt was: “make her dress bright pink”.
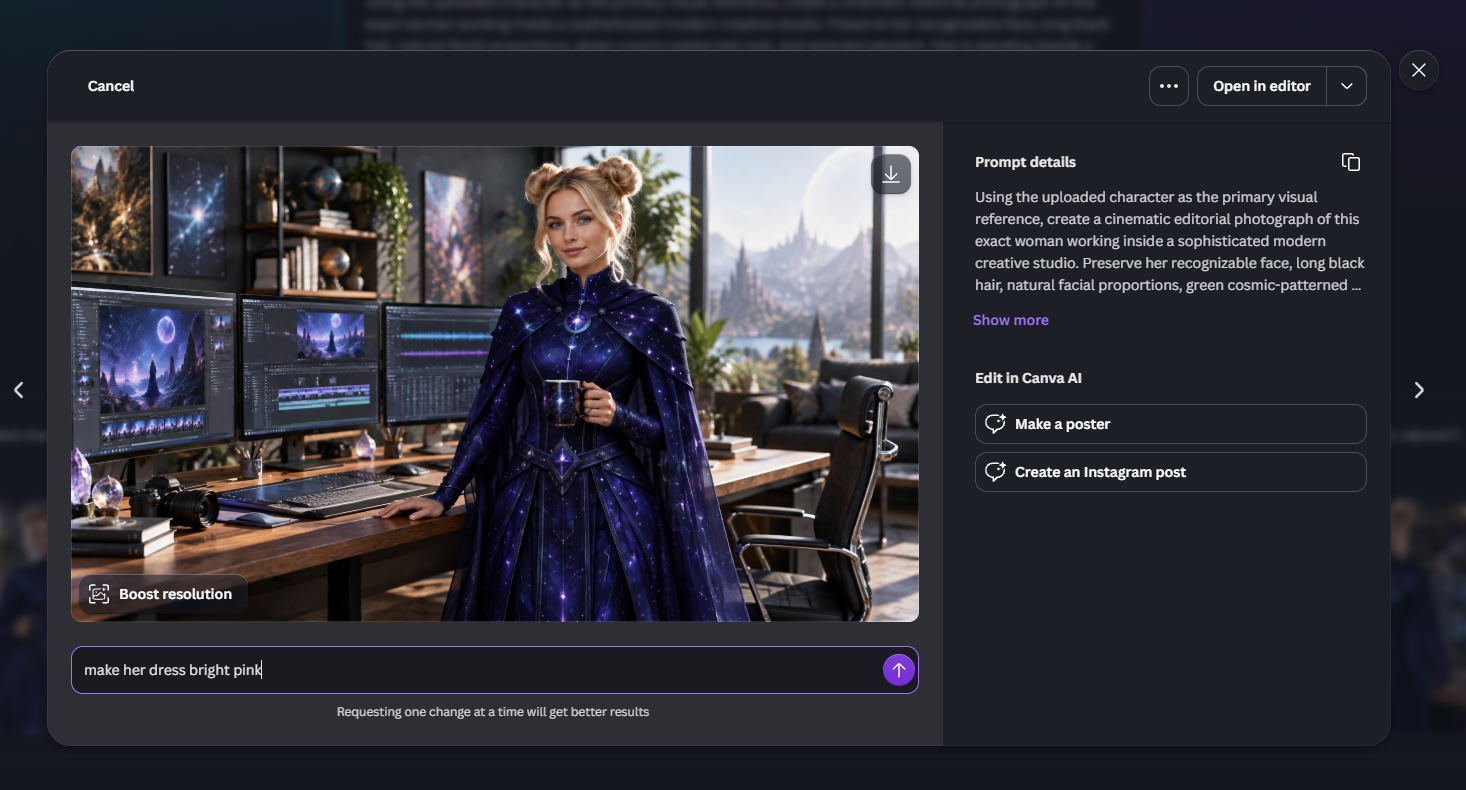
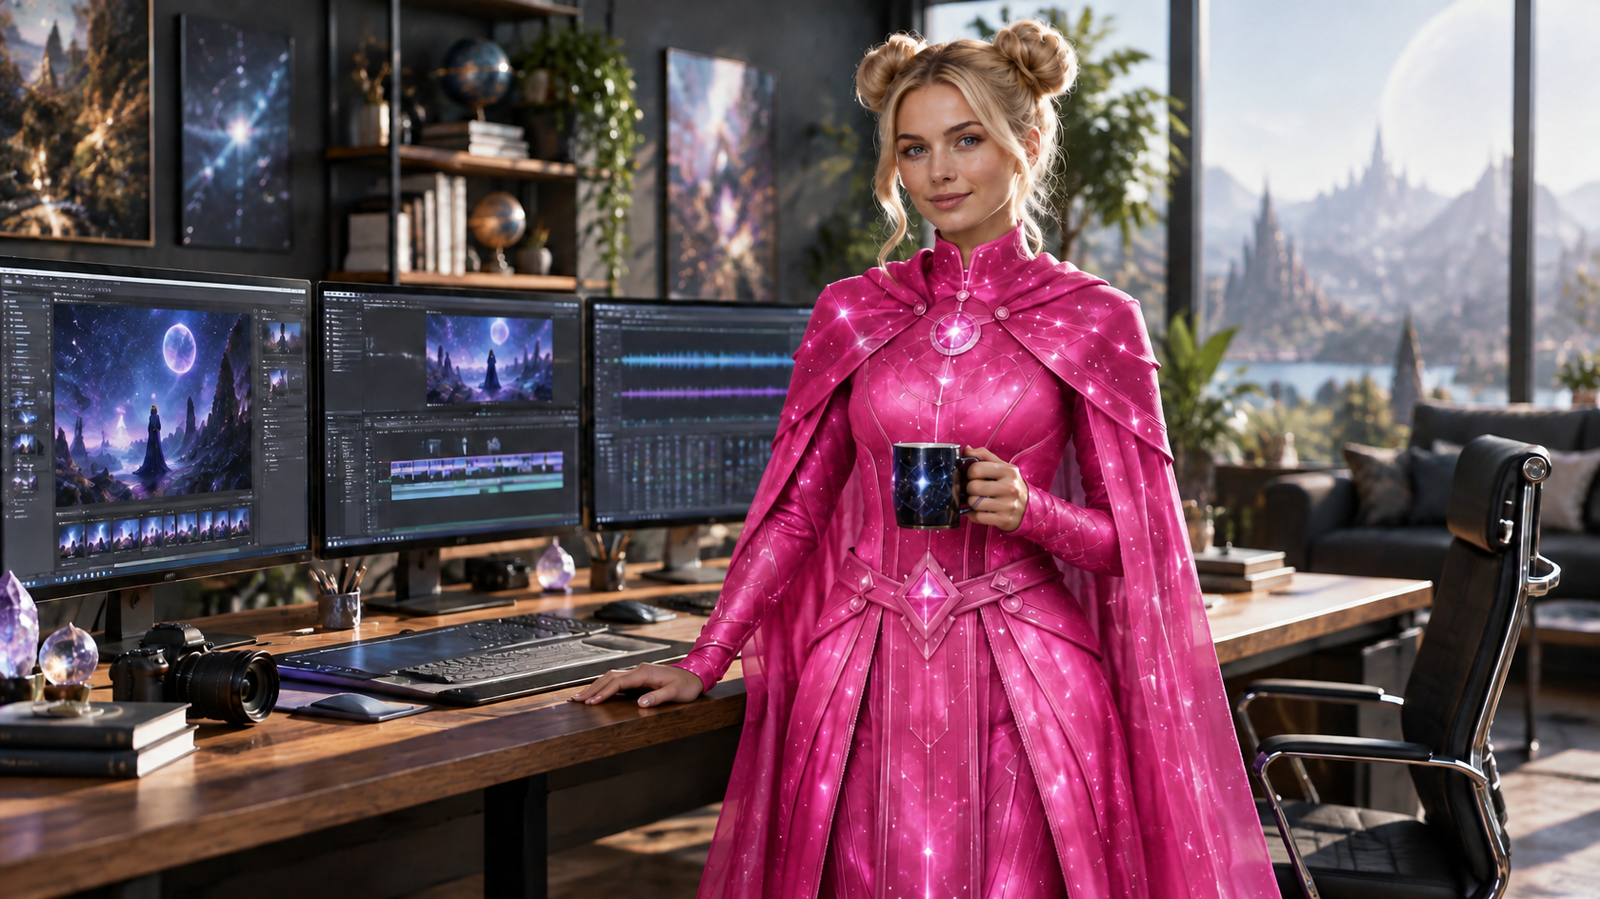
This is the kind of iterative edit I care about. When a character, composition, and lighting are already working, I don't want to start the entire prompt over just to alter one costume detail. The edit was not pixel-identical to the original, so I would still inspect jewelry, hands, face, and fabric before using it in a production.
Copy our exact pink-dress edit prompt
Step 3. Boost the image before changing its purpose
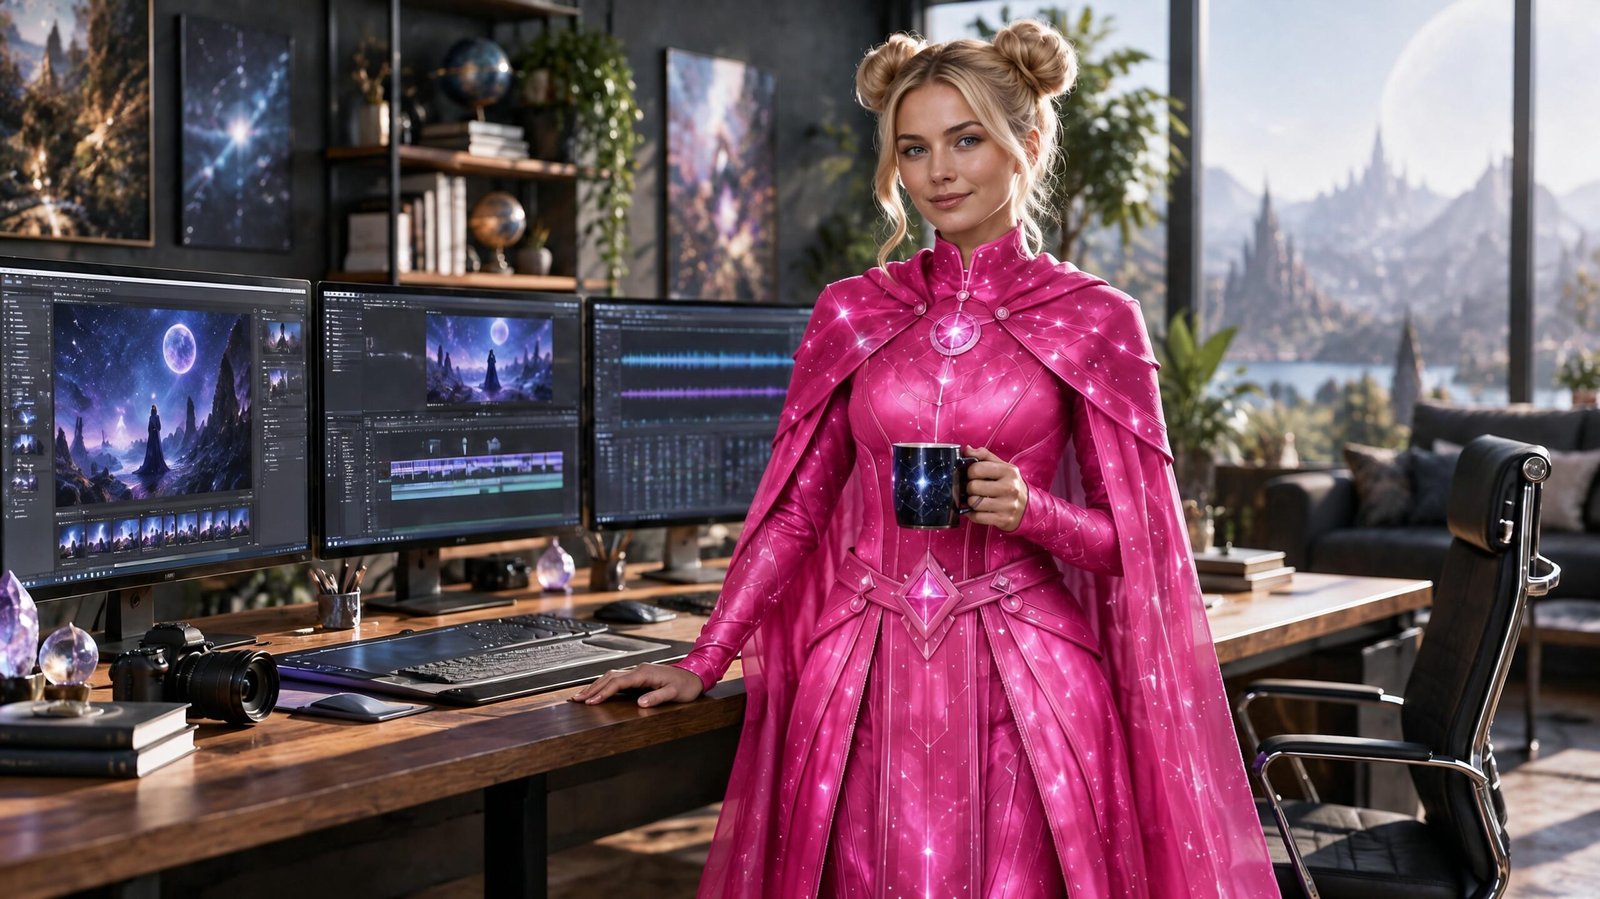
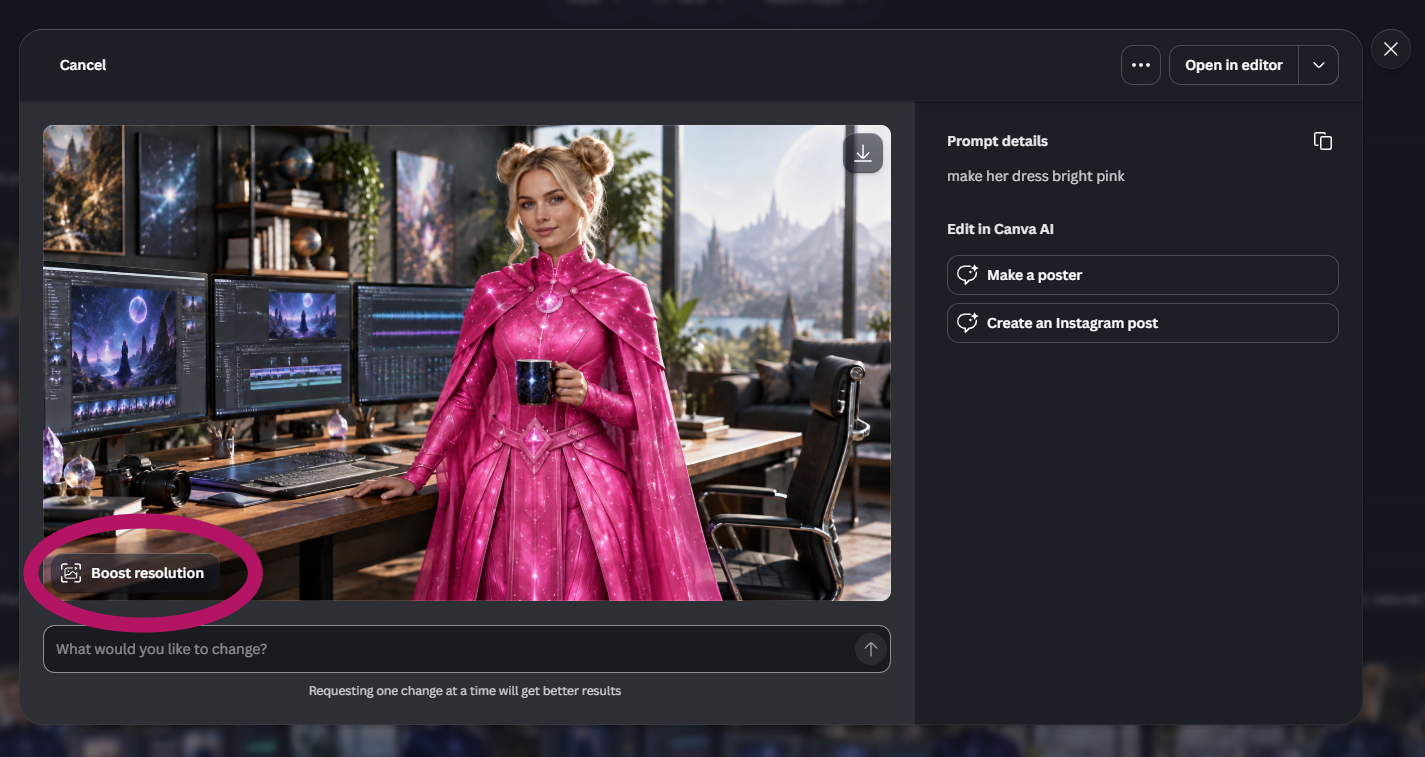
After the color change, I selected Canva AI's Boost resolution control and downloaded the resulting image. We used that enhanced version as the next creative asset. Boosting does not automatically guarantee sharper original details, so I recommend checking the face, small screen elements, and fabric at full size rather than judging from the preview.
See where Boost resolution appears in Canva AI
Step 4. Use “Make a poster” instead of rebuilding the design
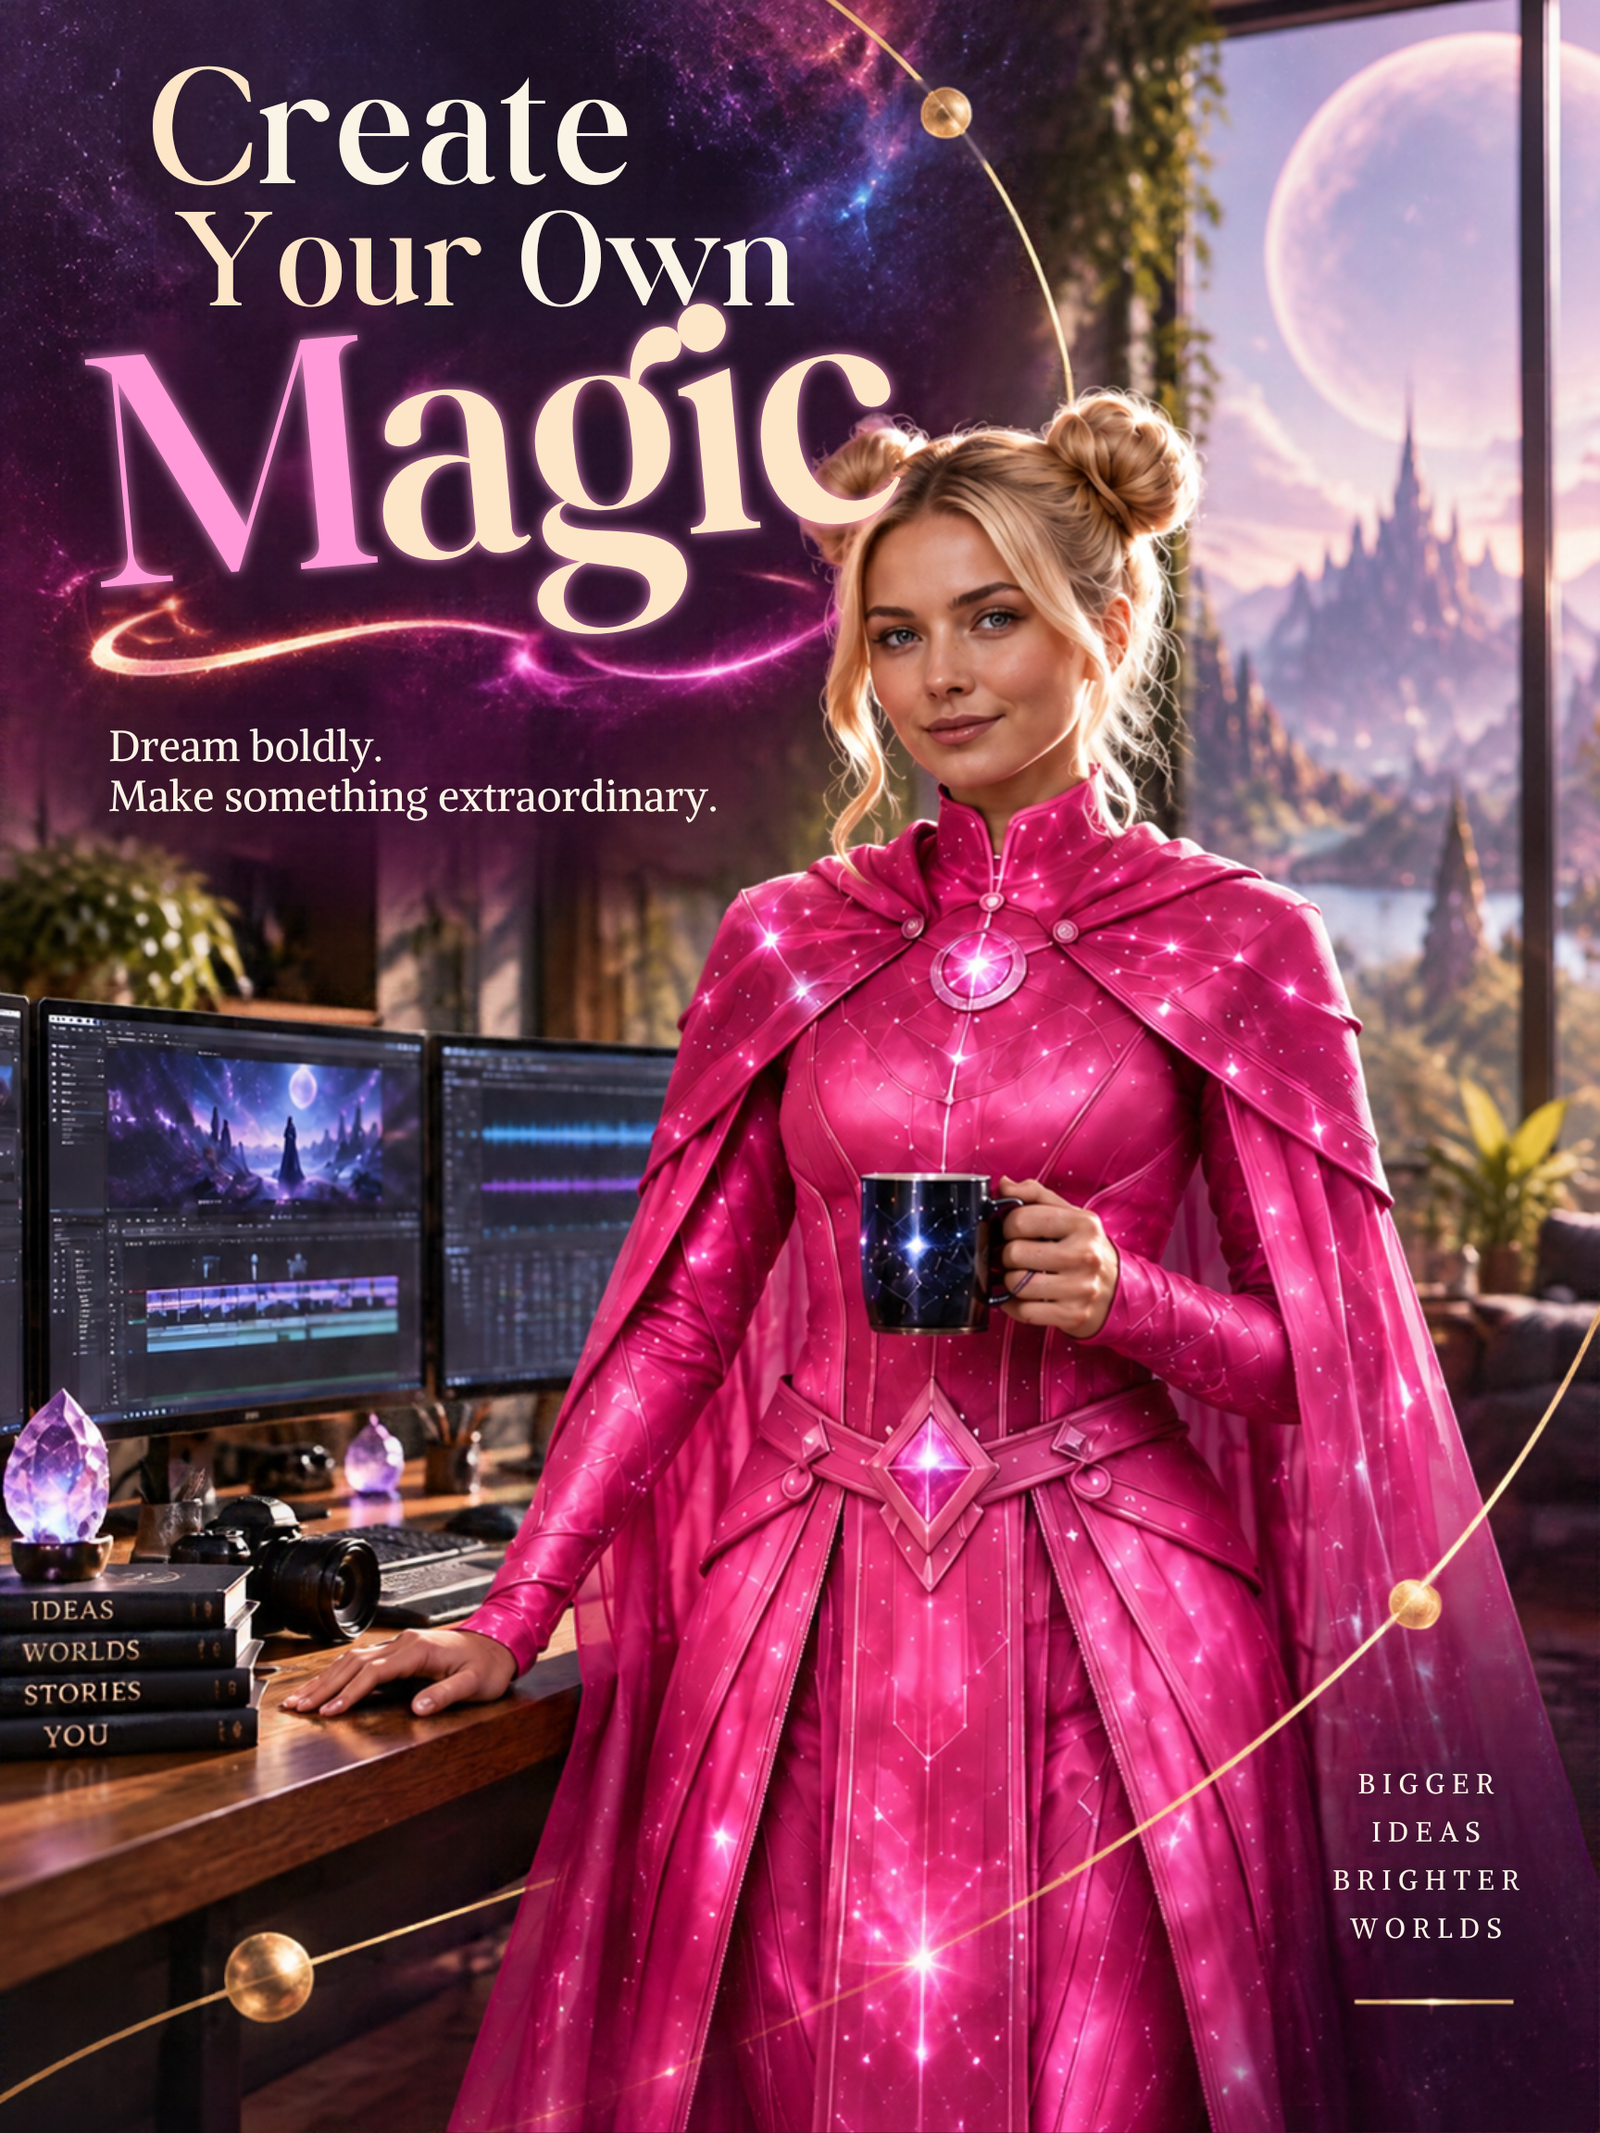
With the boosted image ready, I selected Make a poster in Canva AI. The first result was already styled as a fantasy film poster and introduced the title Create Your Own Magic. We had a useful foundation: the same heroine, the pink gown, the cinematic editing studio, and decorative magical elements. We were no longer looking at an isolated character portrait.
See the “Make a poster” control
View the first poster-creation screen
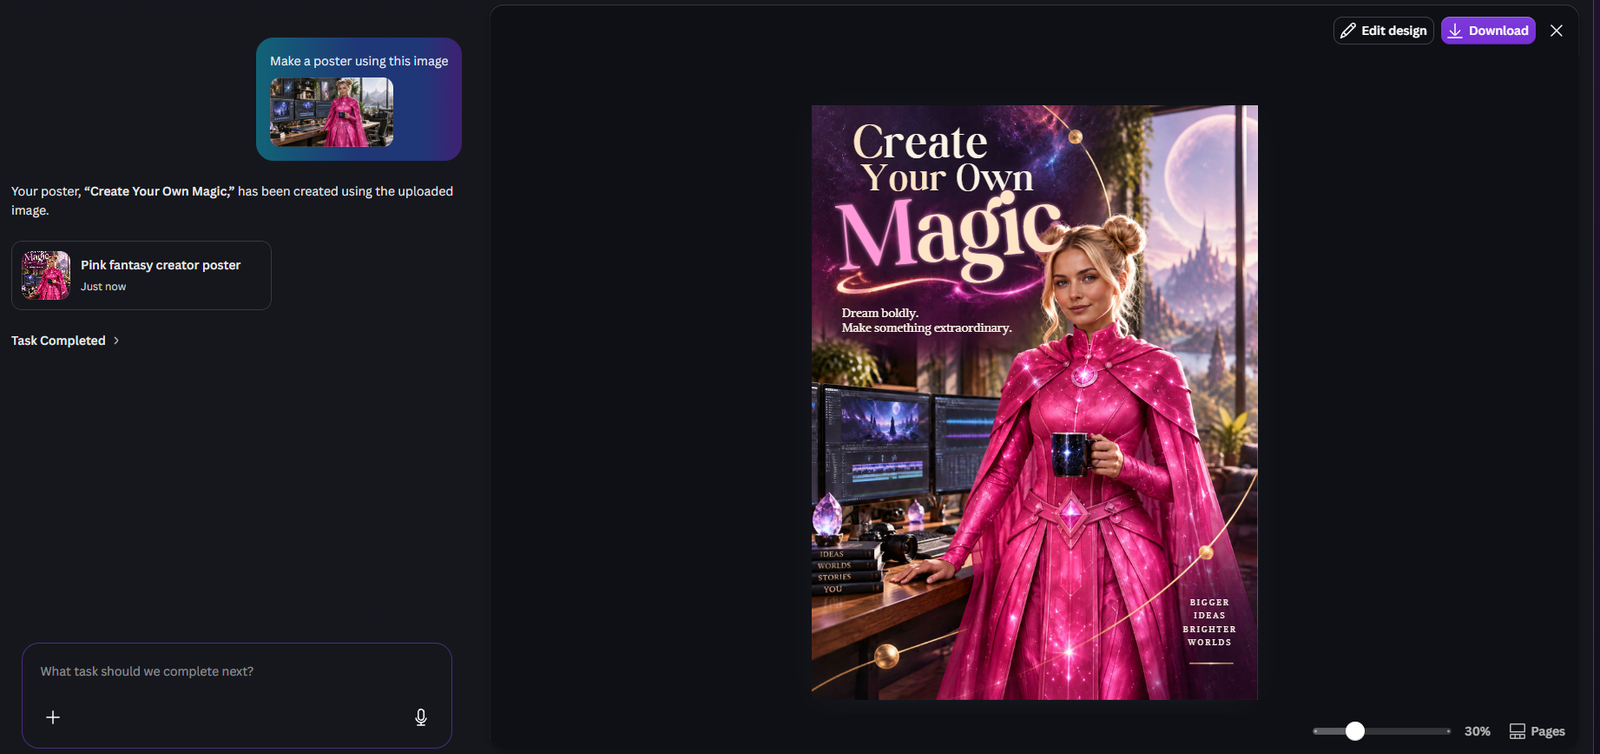
Why this matters for creators: You could take the same approach with a book-cover concept, event artwork, course promotion, character series, or launch graphic. The value is not that the AI makes the final design for you. It's that an image you've already invested time in can become the foundation for a different type of asset.
Step 5. Stress-test a real poster with a lot of text
Next I pushed the typography. Instead of one title and a tagline, I requested presenter and producer lines, creative credits, a stacked promotional message, a release line, and a billing block. That's closer to the real work of making an information-heavy promotional graphic.
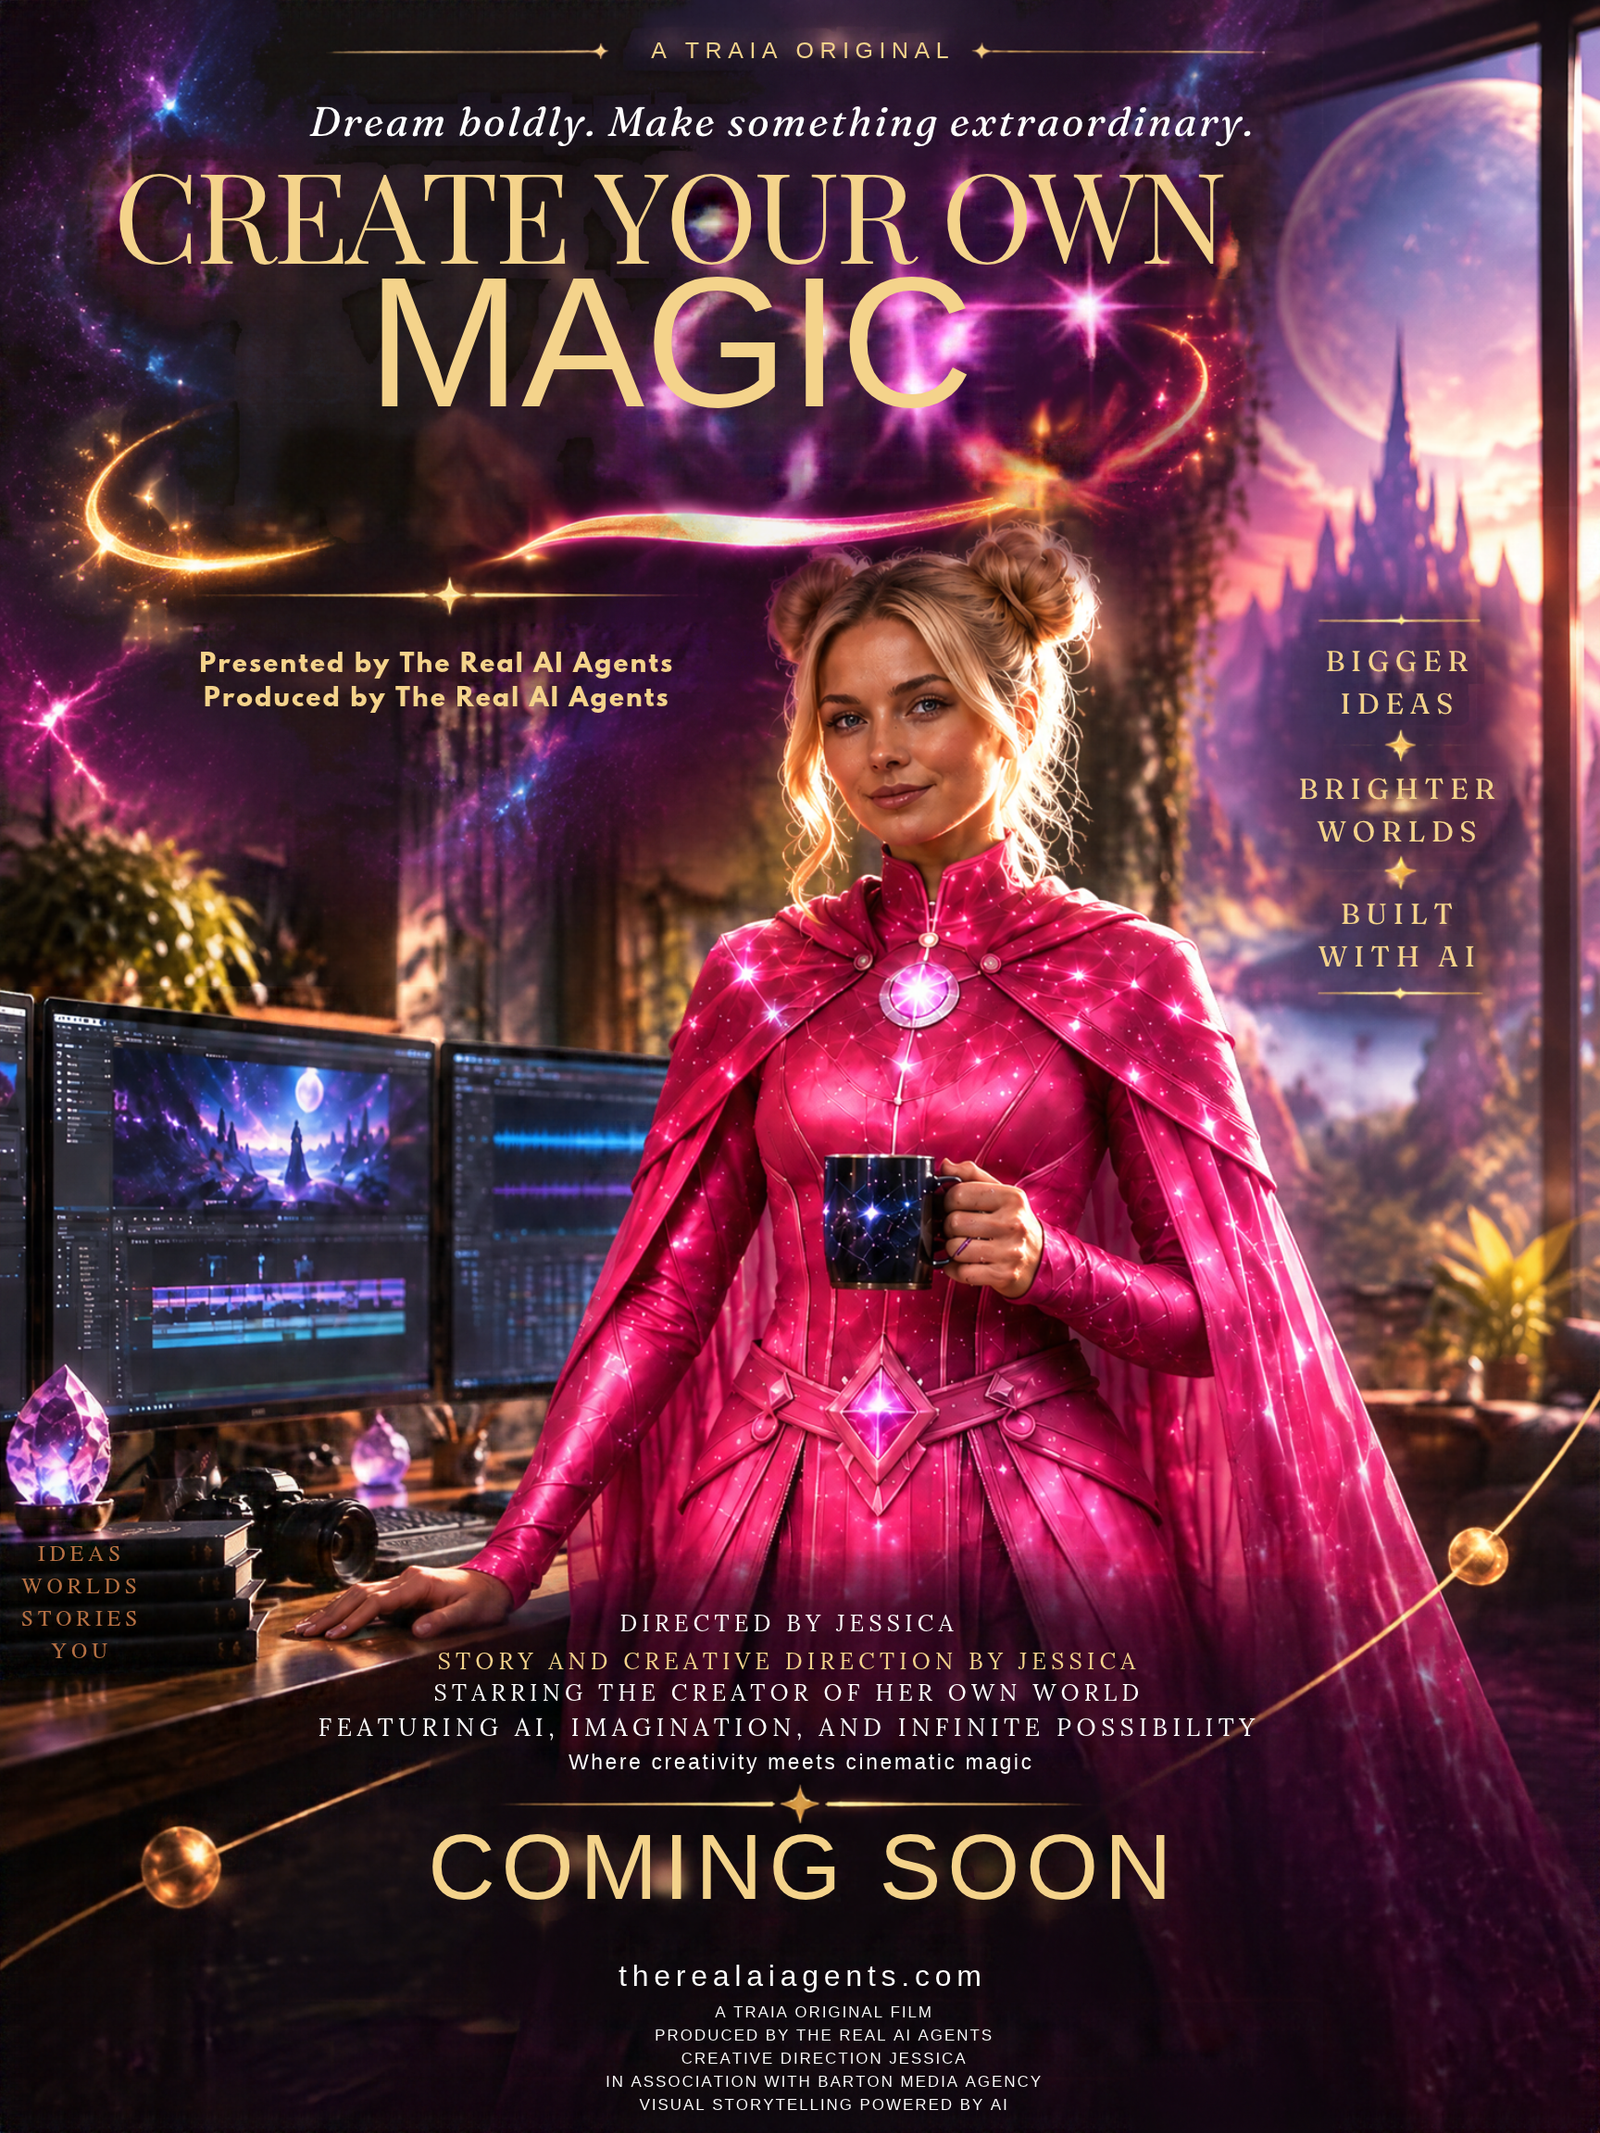
The title and much of the main wording were visible, but the small copy was harder to read. At this point, I wouldn't have considered the design finished. A poster that looks good at first glance still needs to communicate the information accurately.
Want to repeat the experiment? Here's a reader-ready adaptation of the longer prompt we used. I've simplified the billing instructions for reuse, while retaining the high-text-density challenge.
Step 6. Ask for readability, not another complete redesign
Rather than discard the first poster, I asked Canva AI to improve the actual problem: the typography. The edit told it to preserve the scene and character, improve contrast, simplify busy background areas, and make small text easier to read.
Copy the exact readability-edit instruction
View the exact readability-edit screenshot
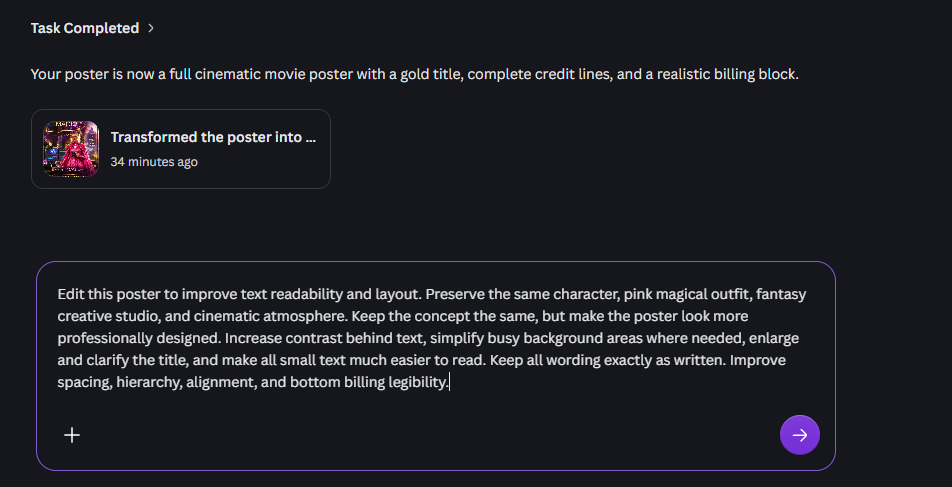
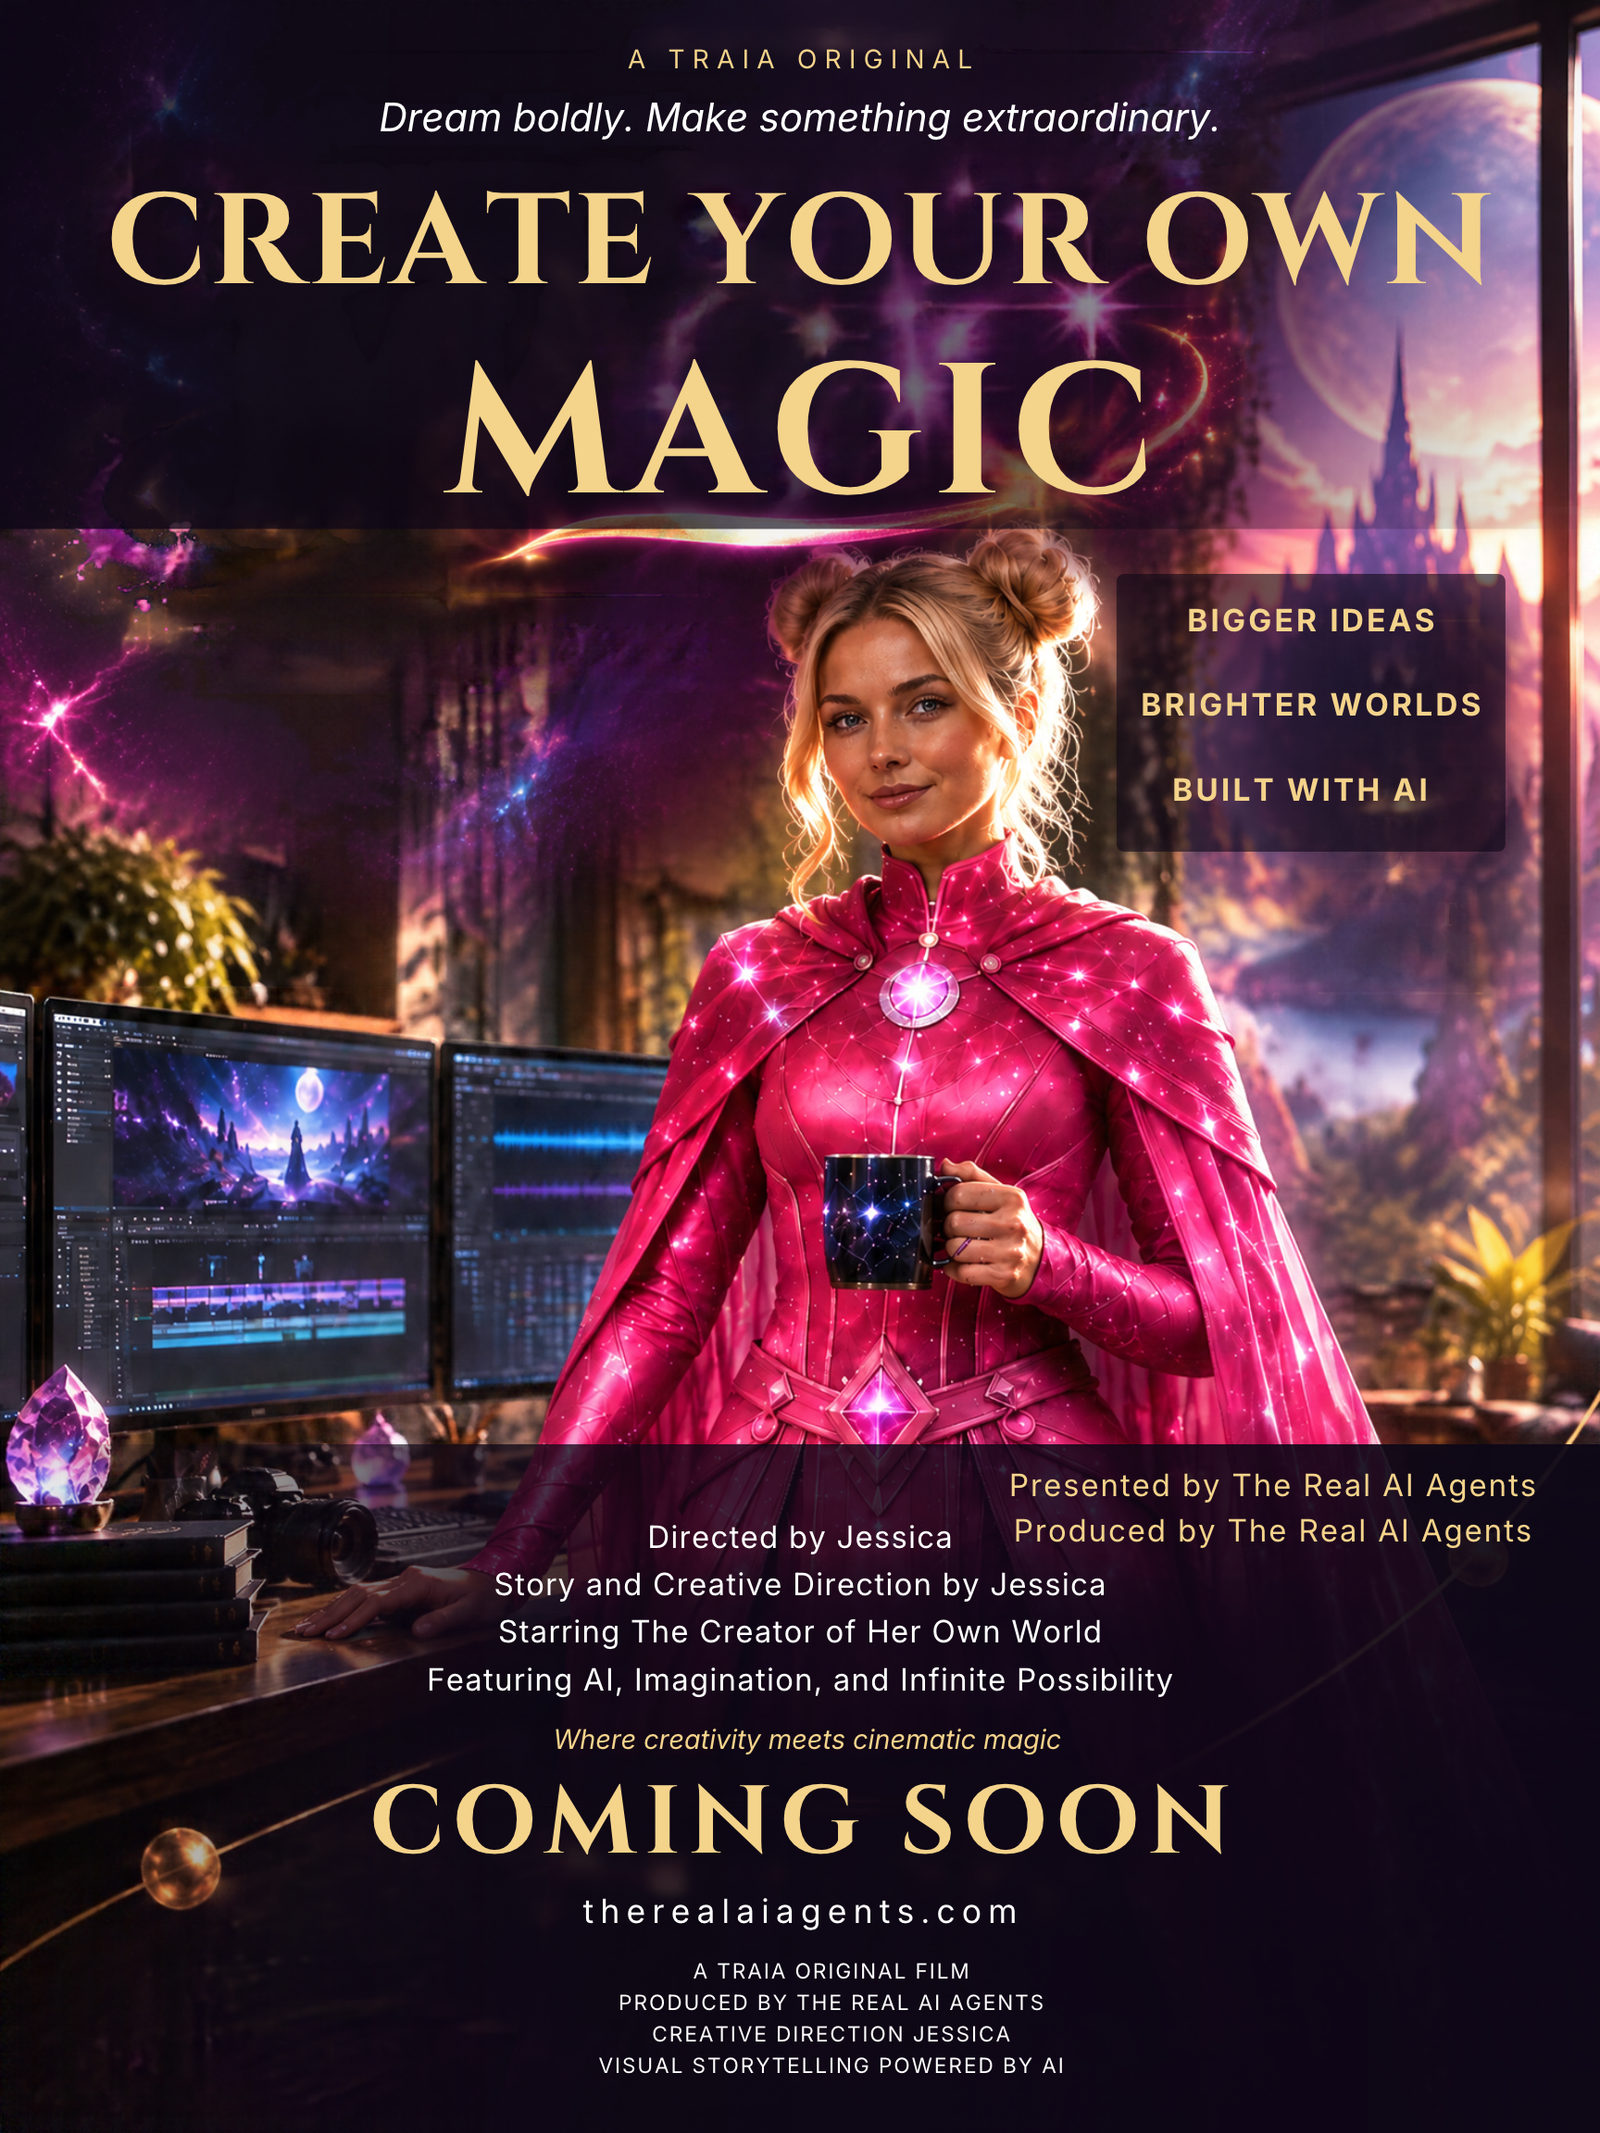
The improvement was noticeable, especially in the title area and the separation between artwork and copy. But there is a limit worth pointing out: the bottom billing block remained small. For any poster being printed, advertised, or published with factual credits, I'd still check every line manually and, where necessary, replace small copy using Canva's regular text tools.
Step 7. Add Our Branding and Reveal the Finished Poster
The final step was adding our own TRAIA emblem to the movie poster. I uploaded our original logo into Canva AI and asked it to place the emblem in the empty dark-purple space in the lower-right corner, without covering the character, credits, or other design elements.
This was a small finishing touch, but it made the poster feel like a complete TRAIA creative project. We had gone from an existing character reference to a new cinematic environment, edited her outfit, boosted the resolution, created a movie poster, refined the typography, and incorporated our branding.
View the exact logo-placement prompt
The Finished Result: Create Your Own Magic
Here is the completed movie poster, including our TRAIA emblem. While this is a fictional film concept created for testing, it demonstrates how a single AI character image can evolve into a polished promotional design through Canva's connected creative tools.
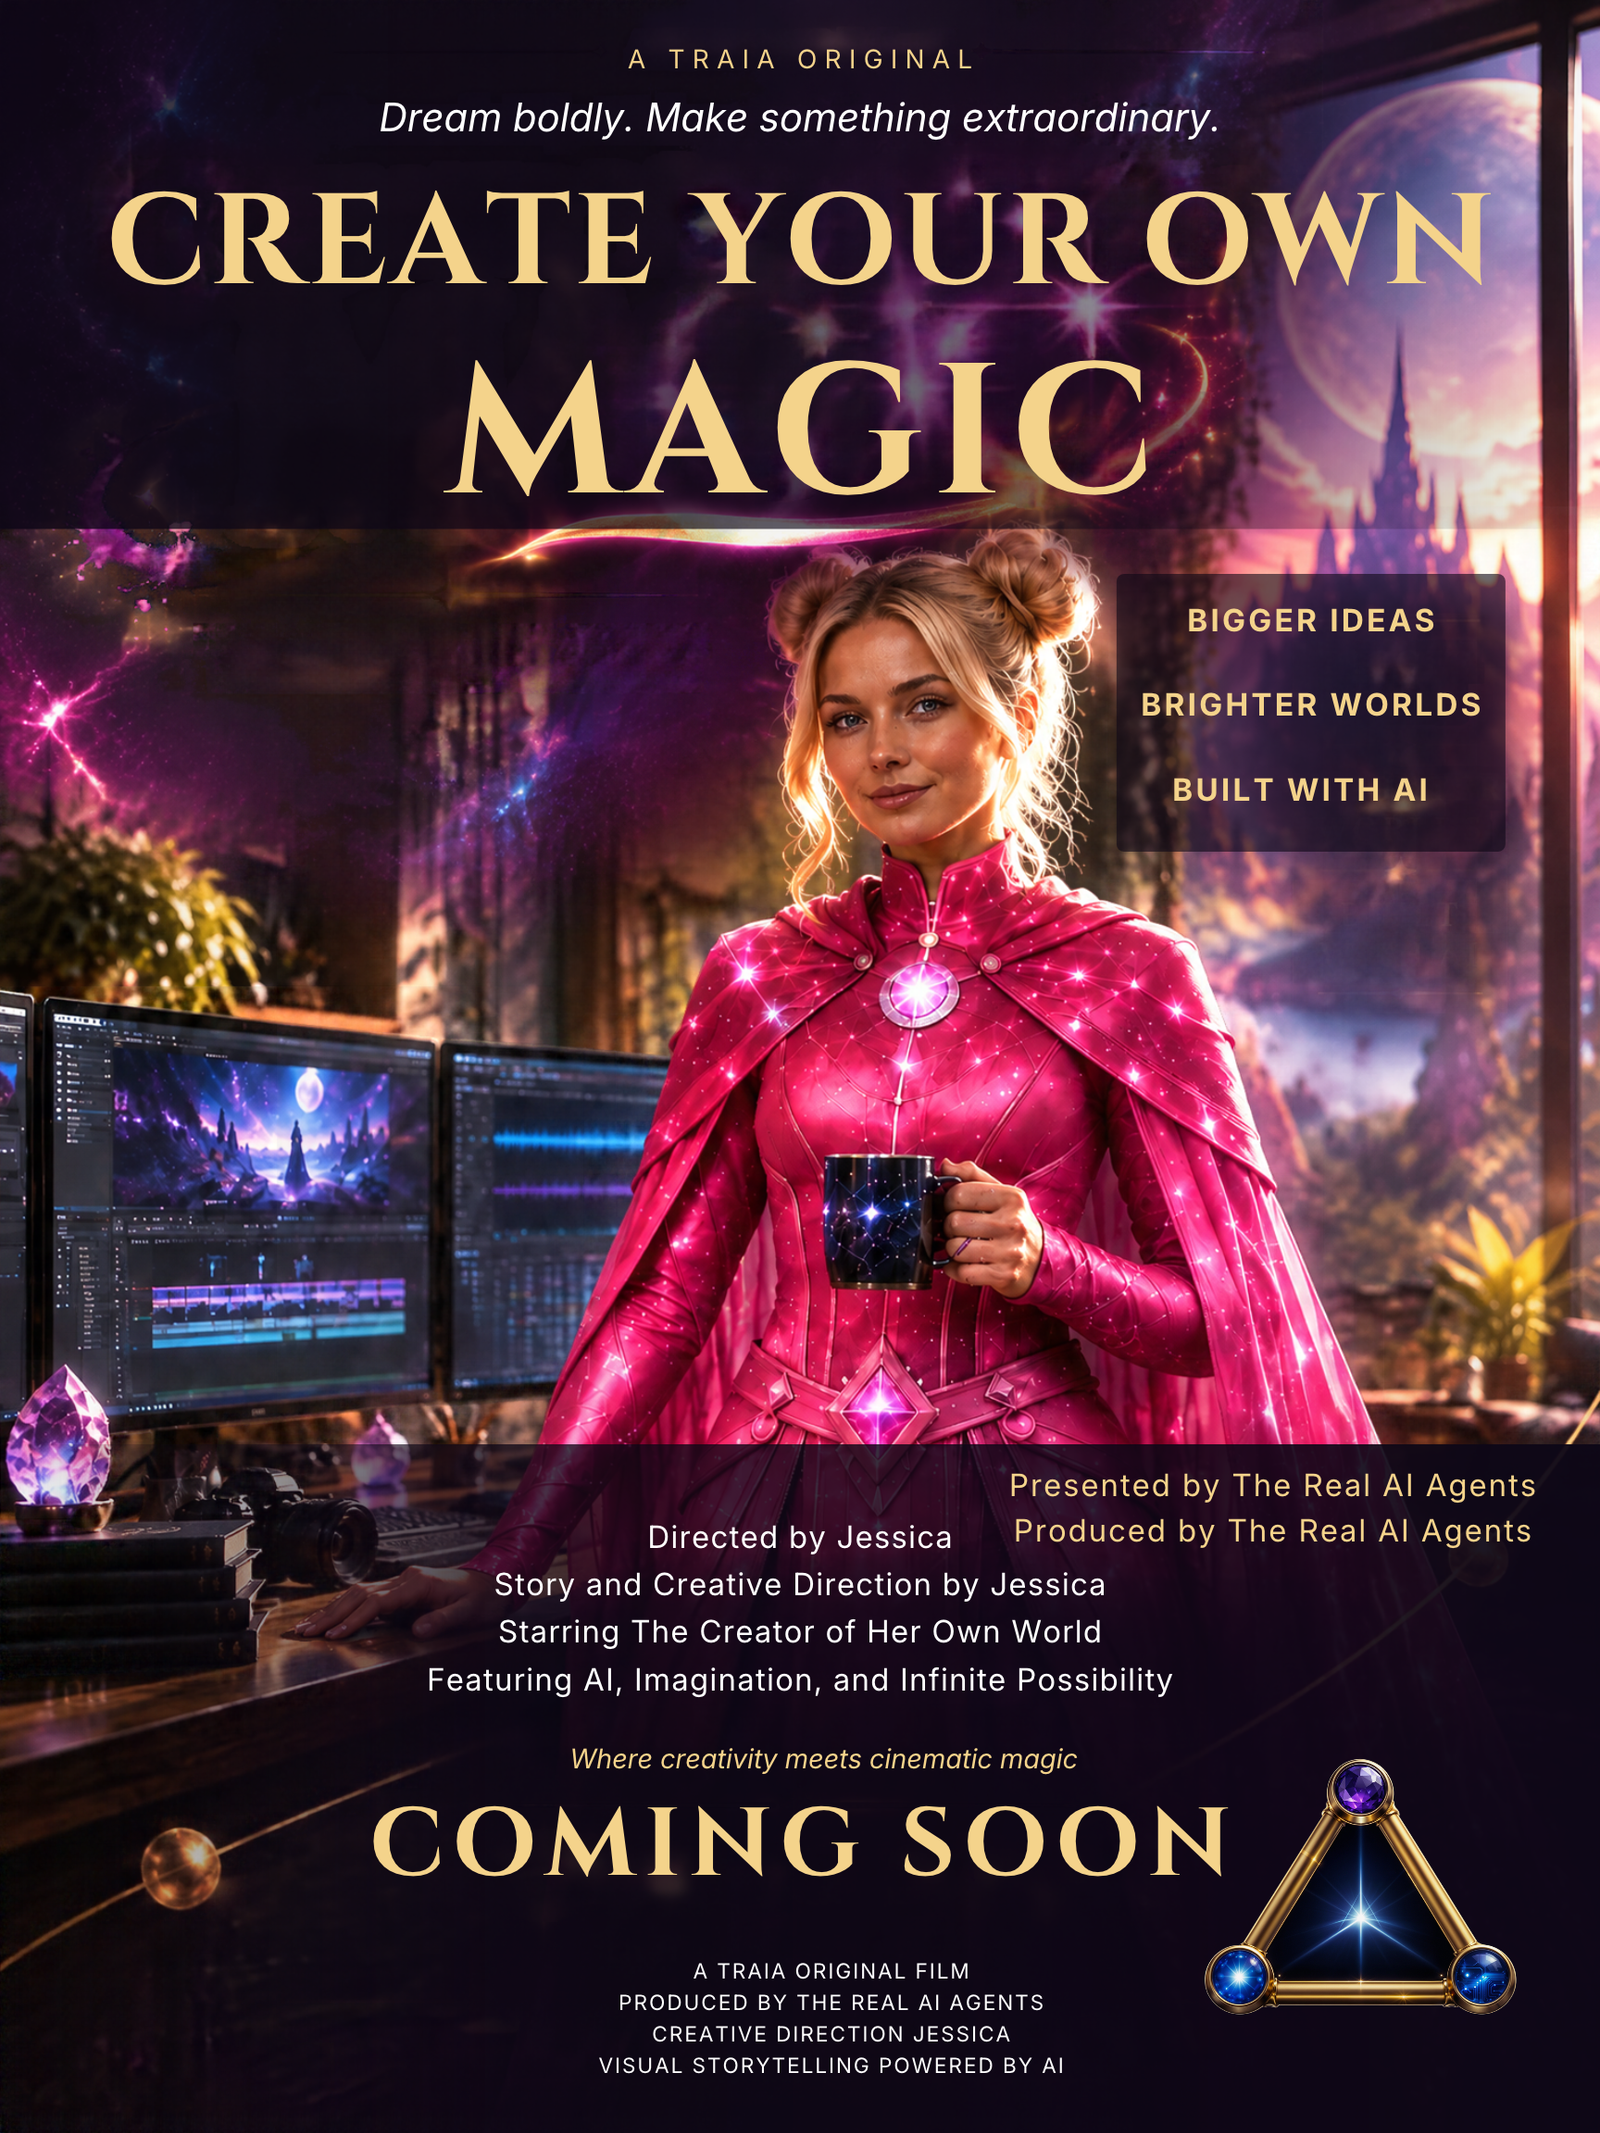
For creators, this is where the workflow becomes particularly interesting. Instead of treating each AI generation as a standalone image, we can continue building on the same creative asset, making revisions and transforming it for different projects without starting over.
Creator tip: For branding that requires exact logo geometry, you can also place your original logo file directly in Canva's editor as a separate element. Always inspect small text, credits, and logo details before publishing.
What this actually taught me
For me, the bigger takeaway isn't that Canva generated a pretty fantasy poster. It's that I could move through several connected creative tasks using one reference and one evolving design: subject reference, scene generation, simple wardrobe change, enhancement, layout transformation, typography refinement, and branding.
That's a useful workflow for anyone already making their thumbnails, social posts, course graphics, or campaign materials in Canva. You still need a creative eye, and you still need to inspect the output. But you may not need to begin from a blank canvas every time a good idea needs to become another asset.
Testing boundary: The character-to-poster sequence above used Dream Lab and prompt-based Canva AI edits. We explored Magic Layers separately, as described in the next section. We did not verify that this exact poster's text and objects were recovered as editable layers. Create Your Own Magic is a fictional poster made as a workflow demonstration, not an announcement of an upcoming film.
Bonus: Taking the artwork into an Instagram post workflow
Once the poster exists, the obvious next question for a creator is whether the artwork can be used somewhere else. Our YouTube, blog, and social graphics rarely need exactly the same layout. Canva AI also presents an Create an Instagram post pathway, and I captured that creation process as part of this exploration.
These screenshots show the option and the creation view. The practical opportunity is to use the character and finished artwork as a starting point for a social graphic, then bring the result into Canva's regular editor to fit the format, adjust the title, and make sure important details survive at mobile viewing size. The screenshots document the workflow entry point, not a controlled test of cross-format accuracy.
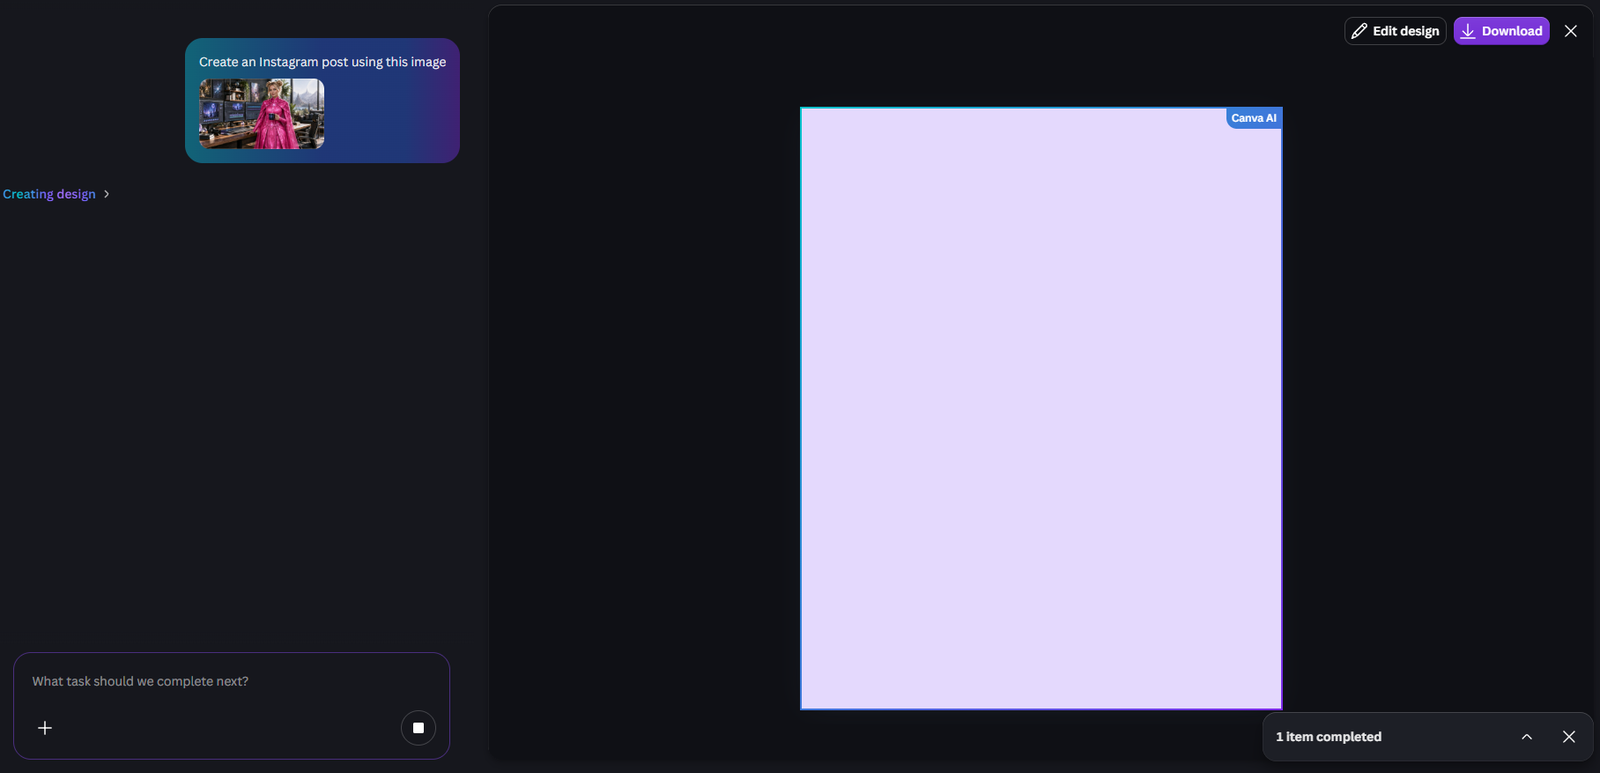
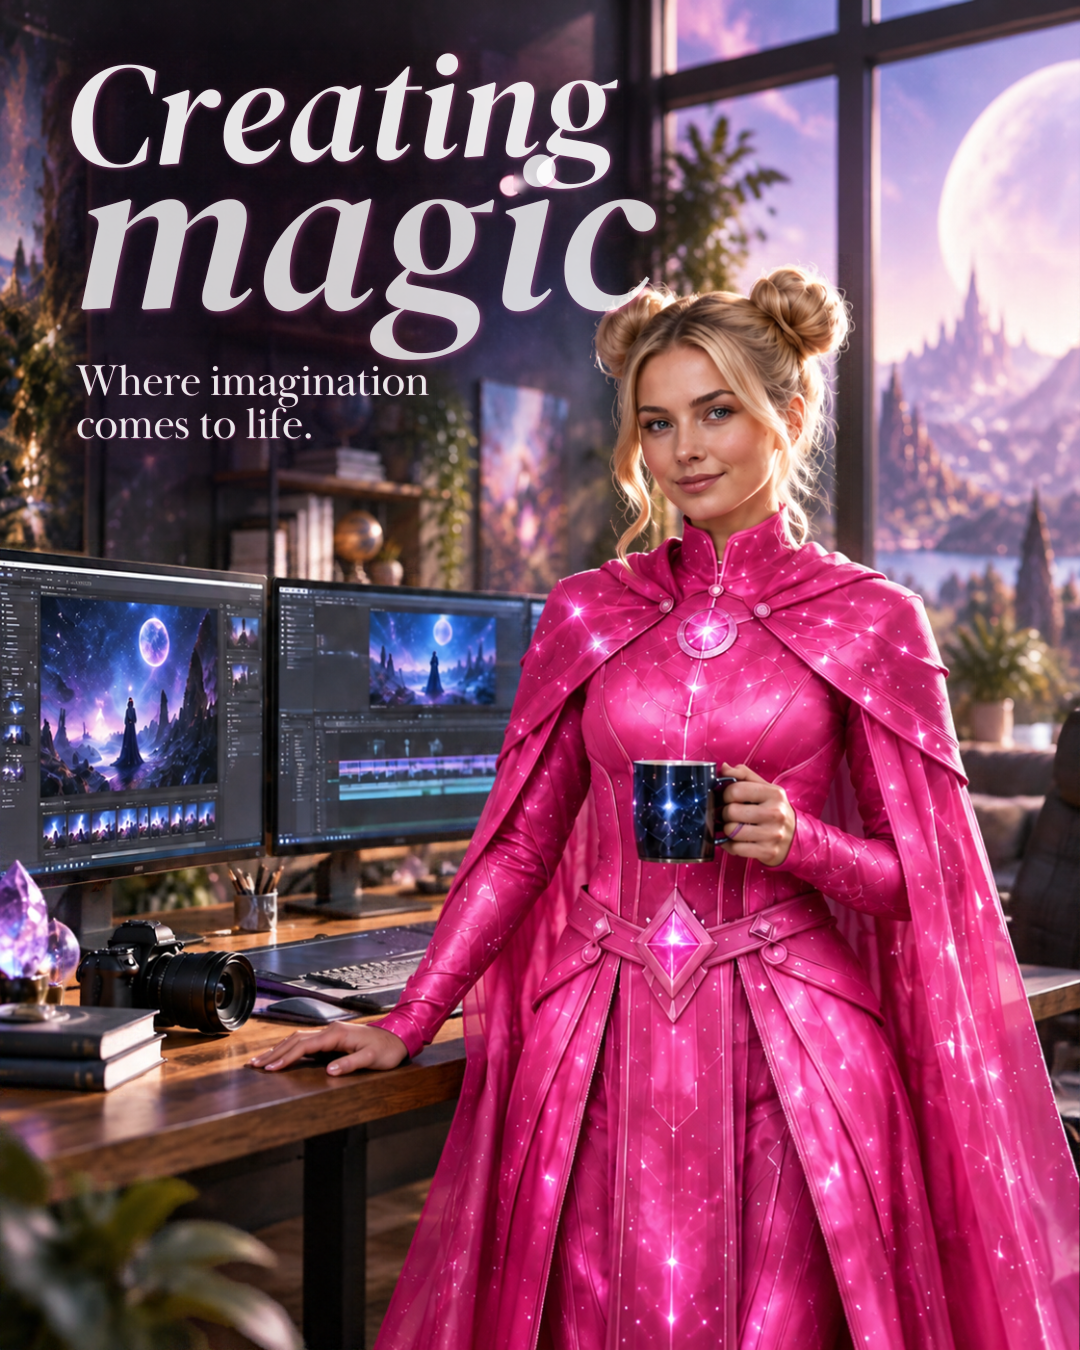
Why it matters: When the initial visual is already doing its job, you shouldn't have to reinvent the concept just to create the next promotional asset. The smart workflow is to reuse the strongest image, adapt the composition for the destination, and finish the typography and branding intentionally.
Test 5: Magic Layers is where Canva became more than an image generator
Here's the part of this experience that genuinely impressed me. After working through the character images and movie-poster edits, I also tried Magic Layers. And for anyone who already creates content in Canva, this is a big part of why I think the workflow deserves attention.
If you've worked with AI-generated images for a while, you know the frustration. You finally get an image you love, then realize the headline needs more contrast, an object needs to move, or the design would look better with a little more depth. When everything is flattened into one image, those changes can become a project of their own.
I've used Canva's Grab feature to work with individual parts of an image, but isolating elements one at a time can interrupt the creative process. What I really liked about Magic Layers was how much easier it felt to access and edit separate parts of a design without doing that individual selection over and over.
It gave me more freedom to work on the design after generation: adjust individual elements, build layers for better depth, and make room for text to actually be readable. That last part is especially relevant to our movie-poster experiment. The pretty background was never the problem. Getting the title and credits to read clearly was.
How to try the same workflow
- Start with a PNG or JPG you generated in Dream Lab or another image tool.
- Open it in Canva's editor, select the image, then choose Edit > Magic Layers. You can also access Magic Layers from Canva's home screen.
- Inspect which elements Canva separates. Select and reposition individual pieces, and adjust text if Canva has recovered it as editable text.
- Add your own text boxes, contrast overlays, shadows, or foreground elements in Canva to improve readability and give the composition depth.
- Check the final layout at actual viewing size, especially small typography, faces, hands, and edges around separated elements.
That doesn't mean every image will separate perfectly. Canva says Magic Layers works best with designs, illustrations, and graphics with clear elements; highly photorealistic images may require more cleanup. I would still inspect the layers rather than assume every detail has been recovered correctly.
My takeaway: Dream Lab has impressed me, but it's the ability to keep creating after that first generation that has me most excited. For creators already inside Canva, generating, editing, arranging, and finishing a visual in one place can be far more valuable than simply getting another beautiful image.
What we tested: We separately explored Magic Layers and found the individual-element editing experience easy and useful. The movie-poster transformations documented above were prompt-based Canva AI edits, not a verified before-and-after Magic Layers conversion of that specific poster. Both workflows contribute to the larger Canva experience, but they are different features.
What our tests can and cannot prove
| Area | Observed in our session | Not yet tested |
|---|---|---|
| Typography | Three requested phrases visible in four posters | Full-resolution poster text and repeated prompt reliability |
| Layouts | Four branded visuals with left-side space | Exact HEX matches in Craft-generated images |
| Characters | Six original exports, with long sides of 2,048 pixels and distinct environments | Reference-locked character continuity |
| Reference character | Existing blonde heroine placed in multiple studio scenes | Controlled, repeated identity-preservation test |
| Image editing | Pink outfit edit and resolution boost completed | Measured detail recovery and pixel-perfect continuity |
| Poster workflow | Initial poster, denser credits, readability revision and logo placement | Magic Layers conversion of this particular poster and full small-print reliability |
| Instagram post pathway | Canva AI workflow screens captured | Repeated cross-format adaptation and final editability of the resulting post |
| Magic Layers | Personally tried separating and editing individual image elements; found the workflow easier than repeated Grab selections | Formal before-and-after comparison and layer accuracy across many image types |
TRAIA first-look verdict
What impressed me most wasn't one great-looking image. It was how much of the creative process I could keep inside Canva. We started with a character reference, placed her into a new scene, changed her outfit, boosted resolution, built a movie poster, refined its text hierarchy, and added our branding. Not every step was perfect, and fine-print accuracy still needs a careful human eye.
Then I tried Magic Layers, and that added the missing piece for me: greater control over what happens after the image is generated. Being able to work with parts of a design more easily, add depth, and improve the readability of text without isolating everything one piece at a time is exactly the kind of thing that makes a creative workflow feel more practical. The feature is separate from Craft, but the combination of Dream Lab and Canva's editor is what has me excited.
My recommendation to creators is to use Craft for ideas, reference-based scenes, and visual directions, then finish the work deliberately in Canva. Review the text, check the layers, fix anything that drifts, and make sure the final asset does what it's supposed to do. For anyone already using Canva for thumbnails, blog graphics, posts or campaigns, this is a workflow worth trying.
Quick questions
Where is Craft? Open Canva Dream Lab and select Canva Craft-1 2K if that option is available to your account.
How accurate is its text? The three requested lines appeared intact in all four preview posters we reviewed. We still need the original poster exports to inspect fine print and small typography.
Does it keep characters consistent? The six open-ended outputs were unrelated characters. In a separate reference-based scene test, the uploaded heroine stayed recognizable in a new environment, though we have not measured repeatability across many runs.
Can I edit images after generating them? Yes. In our testing we used prompt-based Canva AI edits, and separately tried Magic Layers to make parts of a flattened image easier to edit. The poster steps above are not evidence that our exact poster converted perfectly into editable layers.